Image Credit: Canva
Cold frames are an ingenious way to shield plants from cold weather while creating the perfect microclimate for growth. Building your own cold frame from recycled materials is an eco-conscious, cost-effective solution. Here’s everything you need to know about cold frames and how to make one yourself.
What Are Cold Frames and How Do They Work?
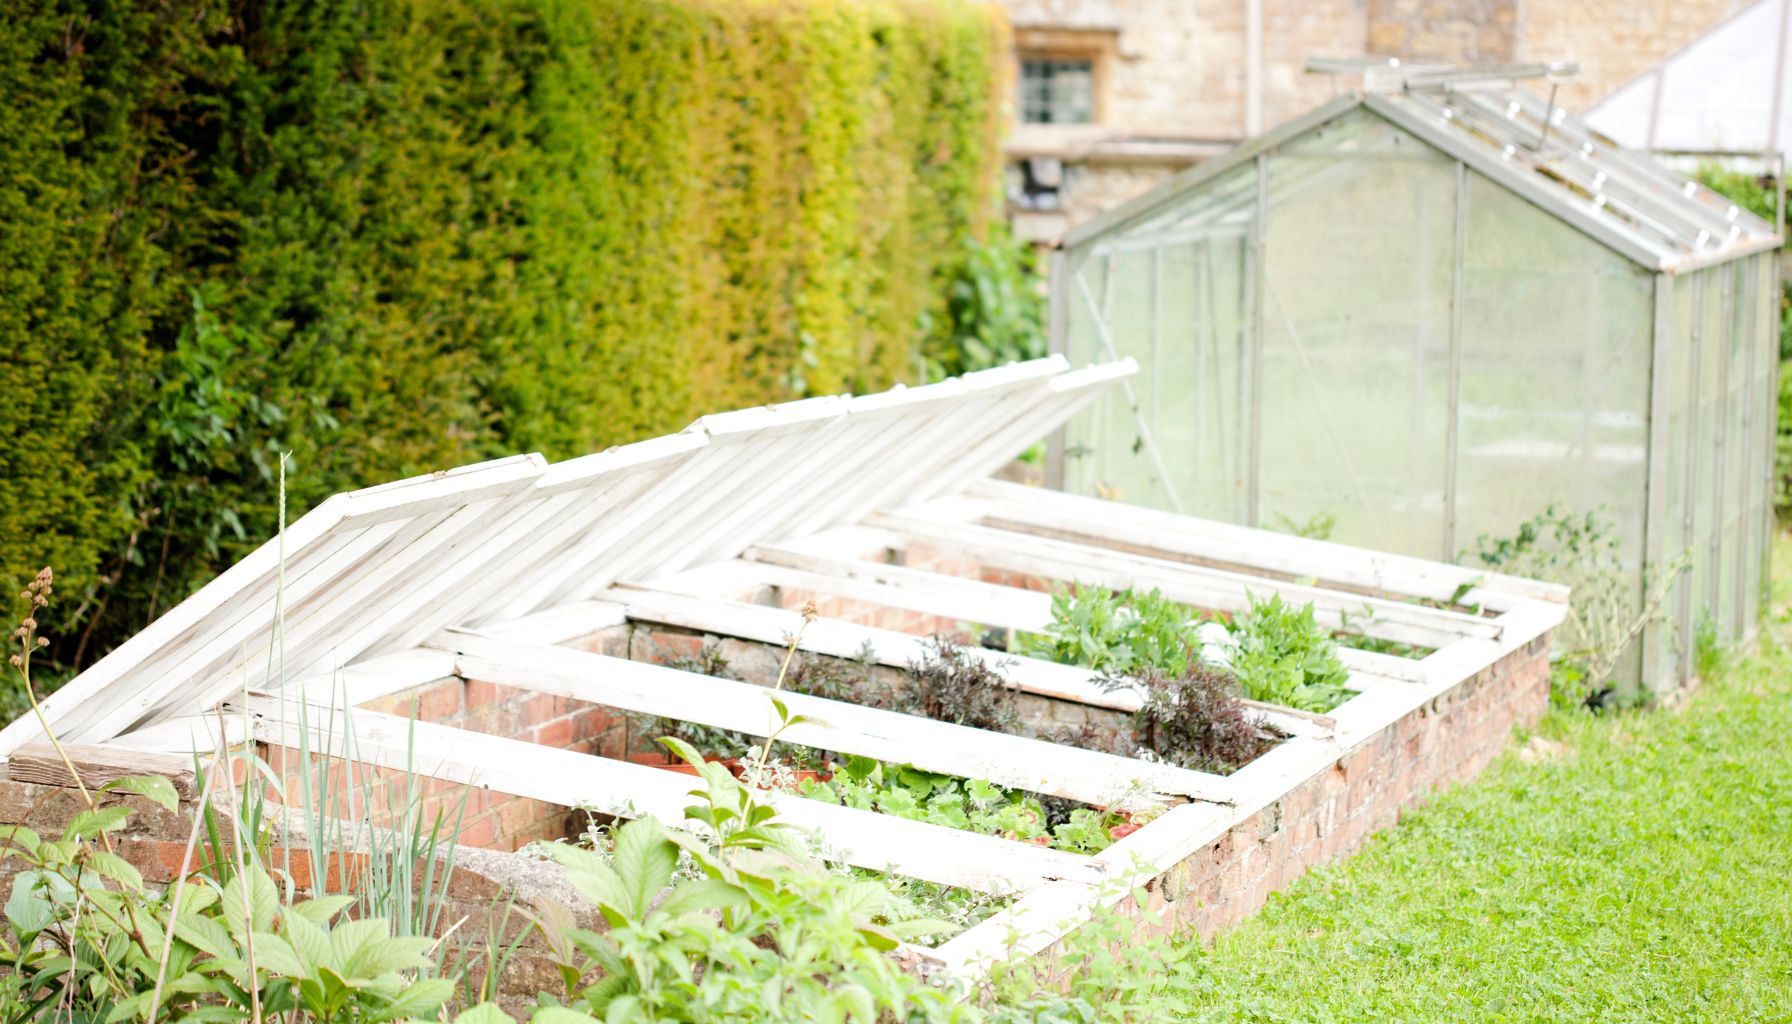
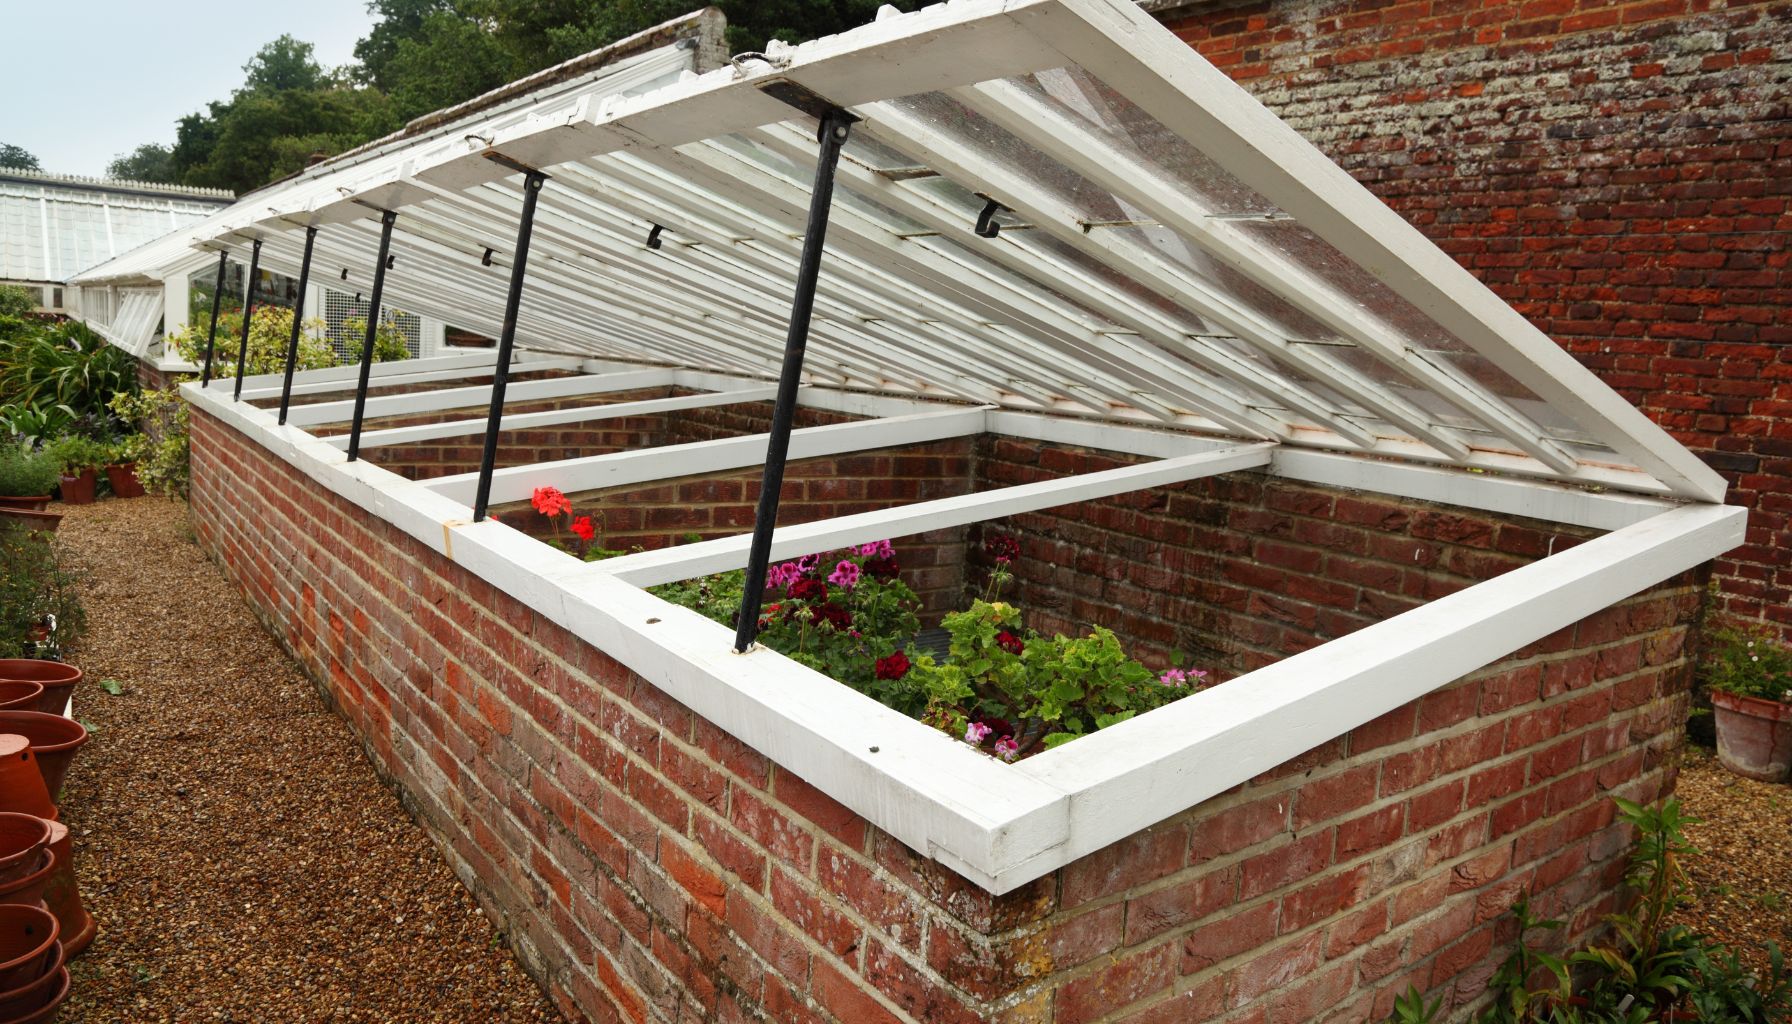
Cold frames are simple, low-profile structures designed to protect plants from frost and wind while trapping warmth from the sun. Acting as miniature greenhouses, they provide the ideal environment for growing seedlings, extending harvests, and overwintering plants. Typically made with a transparent lid and sturdy frame, they help maintain consistent temperatures. They’re perfect for gardeners looking to maximize growing seasons without a costly greenhouse. Whether you’re a beginner or a seasoned grower, cold frames are a versatile addition to any garden.
Why Choose Recycled Materials for Your Cold Frame?
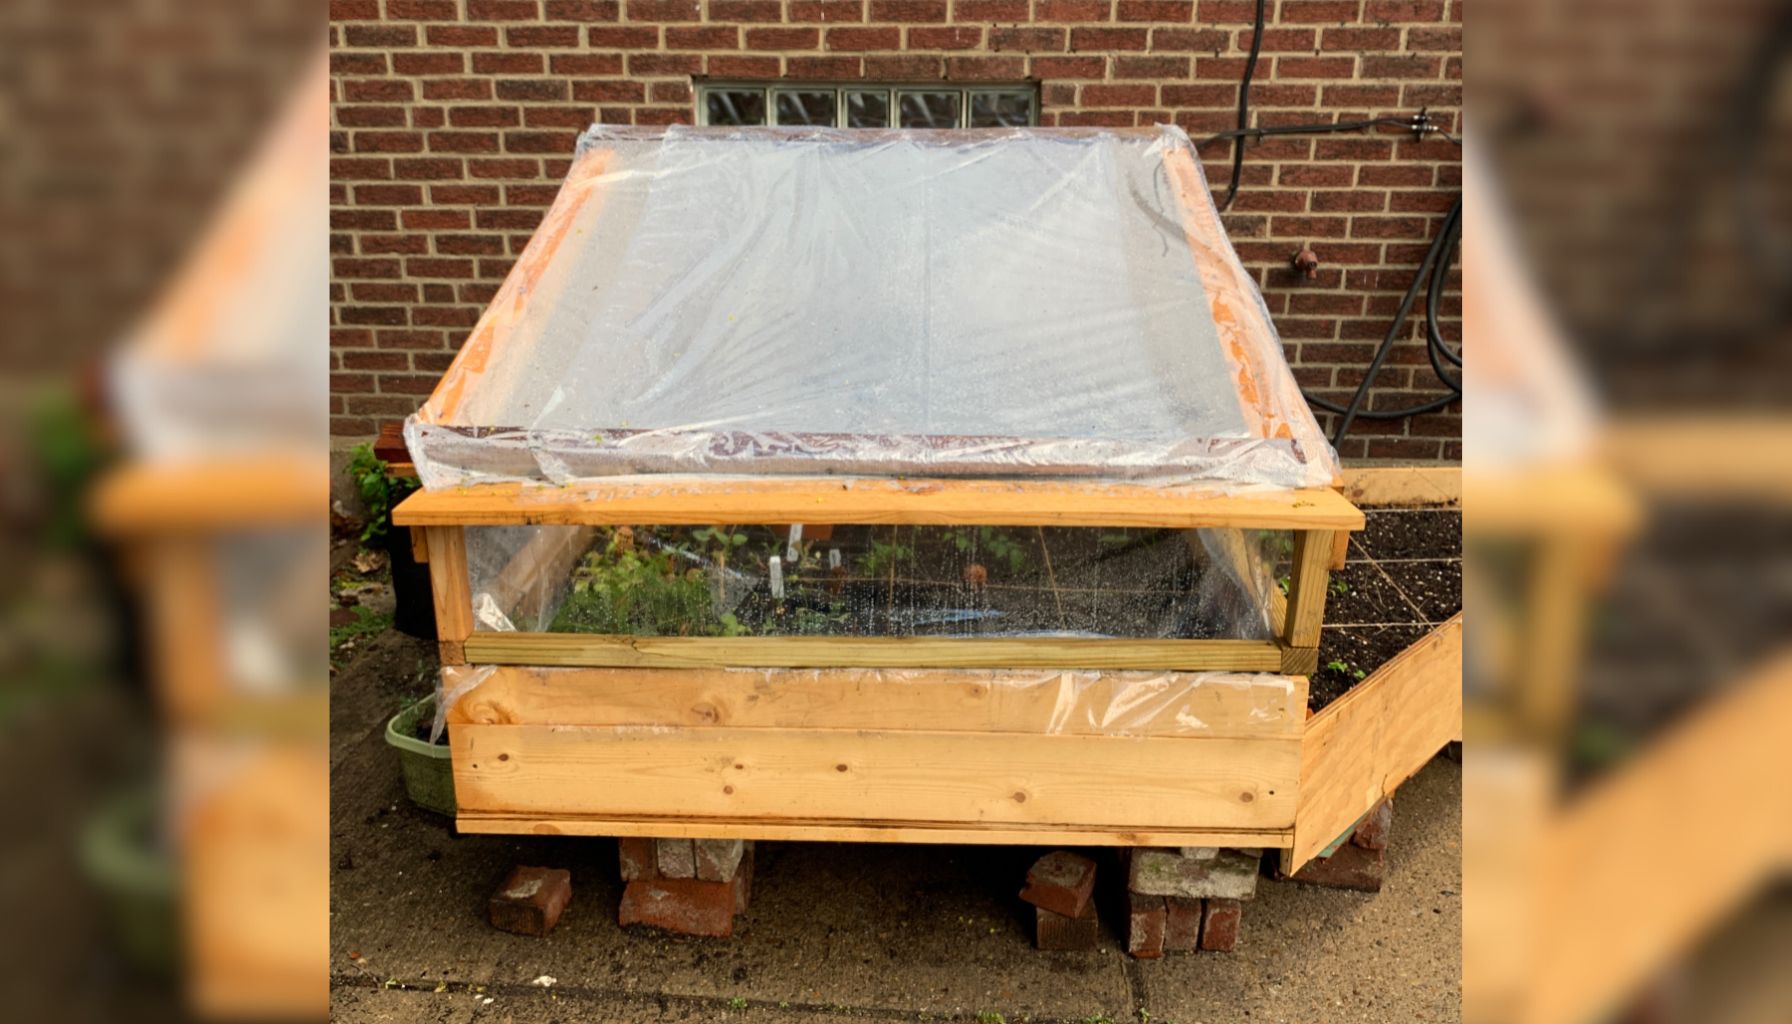
Opting for recycled materials for your cold frame is not only sustainable but also budget-friendly. Old windows, doors, or wooden pallets are often readily available and reduce waste heading to landfills. These materials can add character to your garden, giving your cold frame a unique and rustic aesthetic. Using repurposed items also encourages creativity and problem-solving, making the project more rewarding. Plus, you’ll save money while contributing to a greener planet.
Essential Tools and Materials to Gather

Image Credit: Canva
Before starting your project, gather the necessary tools and recycled items. Look for an old window or clear plastic sheeting for the lid, wooden pallets or bricks for the frame, and hinges for attaching the lid. Tools we’d suggest for the job include:
- Hammer
- Nails
- Screwdriver
- Screws
- Tape measure
- Weatherstripping (for sealing gaps)
- Saw
- Drill and drill bits
- Pencil
- Marker
- Straight edge
This will put you in a good position to get started with your project.
Choosing the Perfect Spot for Your Cold Frame
Selecting the right location is key to maximizing your cold frame’s efficiency. Aim for a south-facing area to capture the most sunlight throughout the day. Ensure the spot is level to provide stability and consistent heat distribution. Keep it away from trees, fences, or buildings that could block sunlight or drip water onto the frame. A location sheltered from strong winds will help maintain warmth and prevent damage. Easy access is also essential for watering and maintenance.
Step-by-Step Guide to Building Your Cold Frame
Building a cold frame is a fun and straightforward project. Follow these steps:
- Build the base: Use bricks, wooden pallets, or cinder blocks to create a sturdy frame. Adjust the height to suit your plants. You may need to use a saw and other tools to cut the pieces down to where you want them to be.
- Cut the inside supports: Cut wooden supports for the inside of your cold frame. These should be measured to fit your base.
- Assemble front and back: Check out a YouTube video to help you properly assemble your cold frame (see below).
- Prepare the lid: Take a recycled window or plastic sheet and ensure it fits securely over the frame.
- Attach the lid: Use hinges to connect the lid to the frame, allowing for easy opening and closing.
- Seal gaps: Add weatherstripping or caulk to insulate and prevent drafts.
- Secure the structure: Anchor the frame to the ground to withstand wind and maintain stability.
Tips for Using Your Cold Frame Effectively
To make the most of your cold frame, focus on maintaining an ideal environment. Ventilate on warm days by propping the lid open to prevent overheating. Close it at night to retain warmth and shield plants from frost. Monitor soil moisture, as the contained environment can dry out quickly. Rotate your crops to prevent pest buildup and ensure soil fertility. Use a thermometer to track temperatures inside your cold frame for optimal results.
Creative Ideas for Personalizing Your Cold Frame
Your cold frame doesn’t have to be purely functional—it can also be a garden showpiece! Paint or stain the frame for added charm or to match your garden aesthetic. Add handles or a latch to the lid for convenience and style. Incorporate interior dividers or shelves to organize plants. Use recycled garden decor like old tiles or stencils for a unique touch. You can even add small solar-powered lights to turn your cold frame into a nighttime focal point.

Image Credit: Canva
Troubleshooting Common Issues with Cold Frames
Even the best cold frames can face challenges, but they’re easy to address. Overheating is common—ventilate regularly to keep temperatures stable. Inspect for pests that might sneak in through small gaps, and seal these openings promptly. Condensation can fog up the lid; clean it regularly for clear sunlight penetration. Strong winds can dislodge lightweight materials, so anchor your cold frame securely. Finally, check for wear and tear in recycled components and replace or reinforce them as needed.
Start Growing with Your DIY Cold Frame
Crafting a DIY cold frame from recycled materials is an exciting way to enhance your gardening experience. It’s an affordable, sustainable project that offers both functionality and a creative outlet. With your cold frame in place, you’ll extend your growing season and nurture plants in a protected environment. Start building today and enjoy the satisfaction of harvesting fresh produce from your eco-friendly garden addition.

Vanessa Bermudez is a content writer with over eight years of experience crafting compelling content across a diverse range of niches. Throughout her career, she has tackled an array of subjects, from technology and finance to entertainment and lifestyle. In her spare time, she enjoys spending time with her husband and two kids. She’s also a proud fur mom to four gentle giant dogs.
Leave a Reply