Seedlings might look delicate, but with the right approach, those fragile sprouts can transform into rockstar plants that laugh in the face of wind, rain, and hungry critters. Every gardener knows that the real magic happens before the seedlings even touch soil outside, where preparation can spell the difference between wilted disappointment and a lush,…
plant health
The Hidden Risks of Improper Pruning That Reduce Summer Harvests
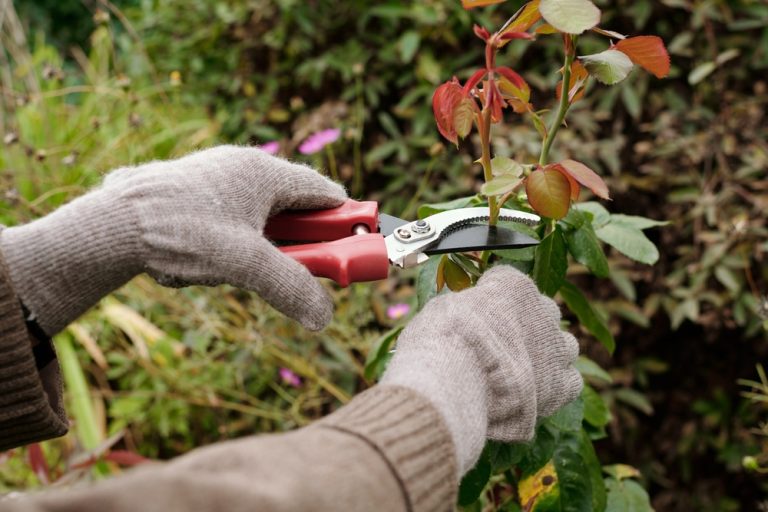
There’s a moment in every growing season when everything looks promising, green, and unstoppable—and then something quietly goes wrong. Not a dramatic pest invasion or a sudden frost, but something far more frustrating because it feels avoidable. Pruning, that seemingly simple act of trimming back growth, holds more power than most realize. Done right, it…
What Powdery Mildew Looks Like and How to Stop It Early
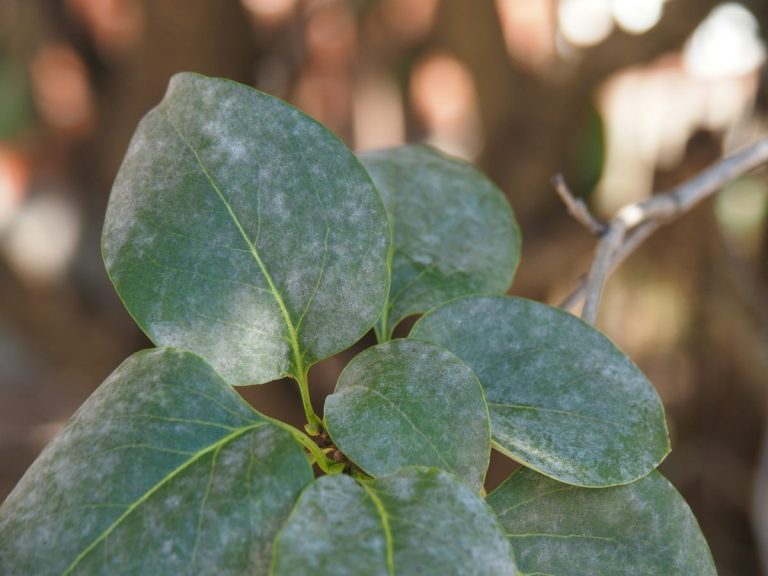
An innocent-looking white dust can signal serious trouble. That soft, powdery coating creeping across leaves doesn’t just sit there looking harmless—it actively weakens plants, slows growth, and ruins entire gardens when it goes unchecked. Powdery mildew doesn’t wait for an invitation, and it doesn’t need perfect conditions to take hold, which makes it one of…
The Unexpected Insect That Devours New Leaves Before You Notice Damage
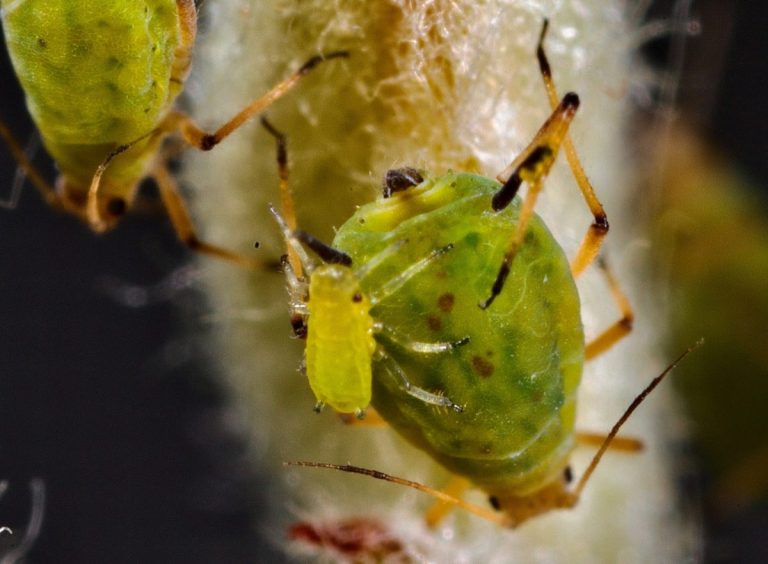
The first clue doesn’t always look dramatic. A fresh flush of green appears on a plant, full of promise and energy, and then something feels off before anything looks truly wrong. Leaves curl just slightly, growth slows down without explanation, and suddenly that vibrant burst of life loses its edge. No holes, no obvious chew…
7 Clear Signs Your Plants Are Being Overwatered Without You Realizing
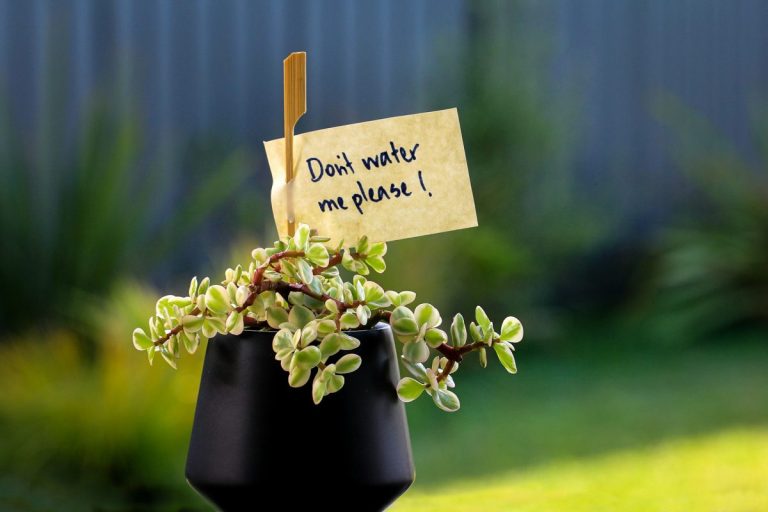
The biggest threat to a thriving houseplant collection doesn’t come from neglect—sometimes it comes from too much love. Watering feels like the easiest way to care for plants, so it becomes the default move whenever something looks even slightly off. Leaves droop? Add water. Soil looks dry on top? Add water. Growth slows down? Definitely…
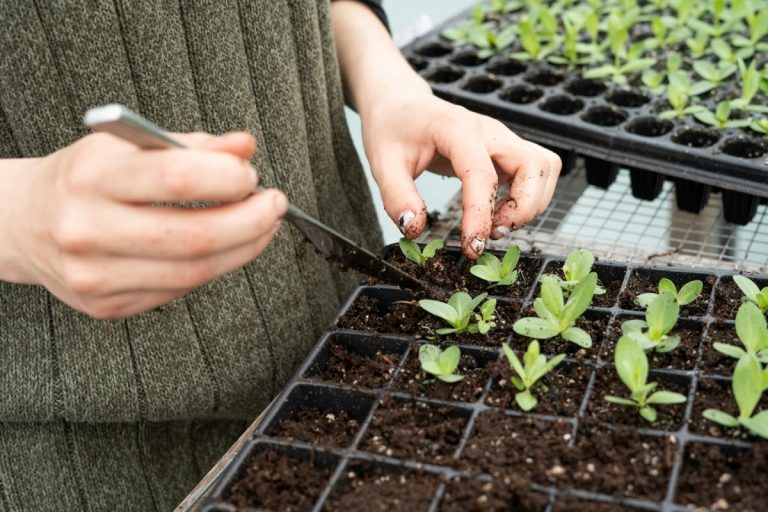
The Common Seedling Mistakes That Destroy Young Plants Before They Grow
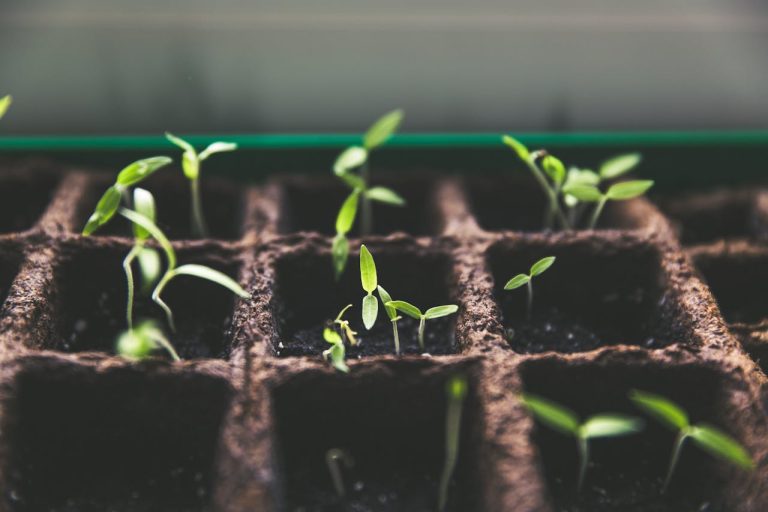
Tiny green shoots push through the soil with so much promise that it almost feels like magic. That moment sparks excitement, plans, and visions of lush gardens or overflowing harvests. Then, without warning, those hopeful little sprouts collapse, shrivel, or simply stop growing. No dramatic storm, no obvious disaster—just a quiet failure that leaves people…
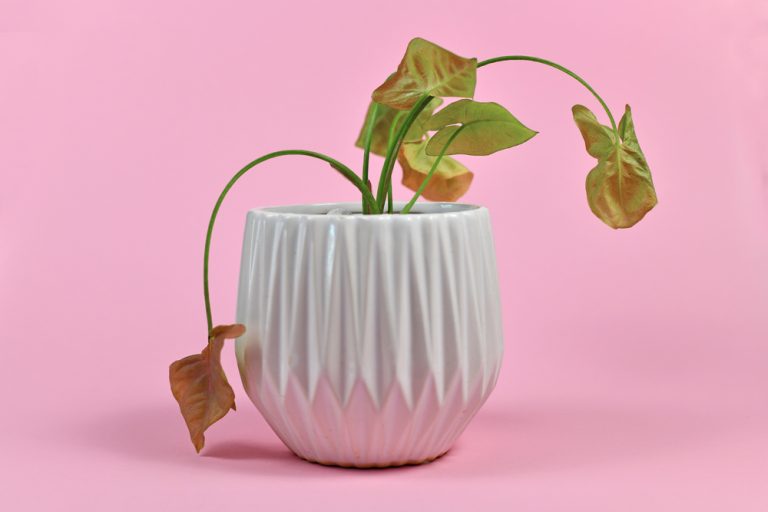
The Simple Root-Rot Prevention Trick Many New Gardeners Miss
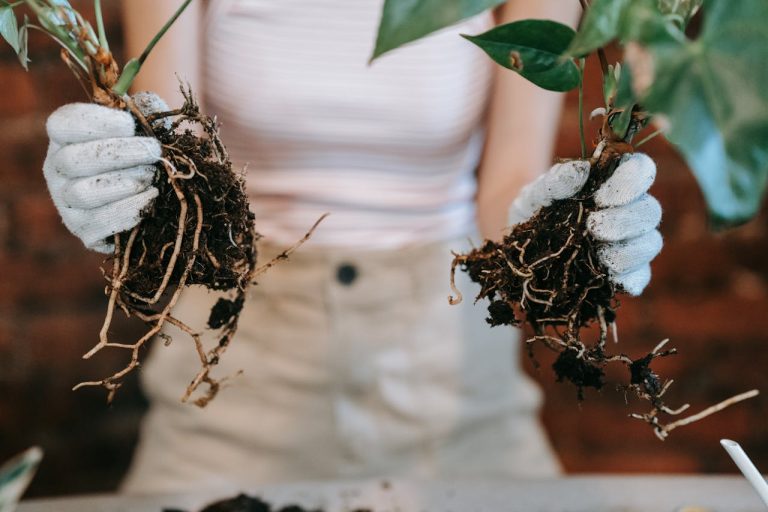
A plant can look vibrant, glossy, and full of life one week, then suddenly collapse like a deflated balloon the next. Leaves droop, stems soften, and that once-happy green color fades into something dull and concerning. The culprit doesn’t always show itself right away, but it works quietly below the surface, turning strong roots into…
What Curling Leaves Often Signal in Spring
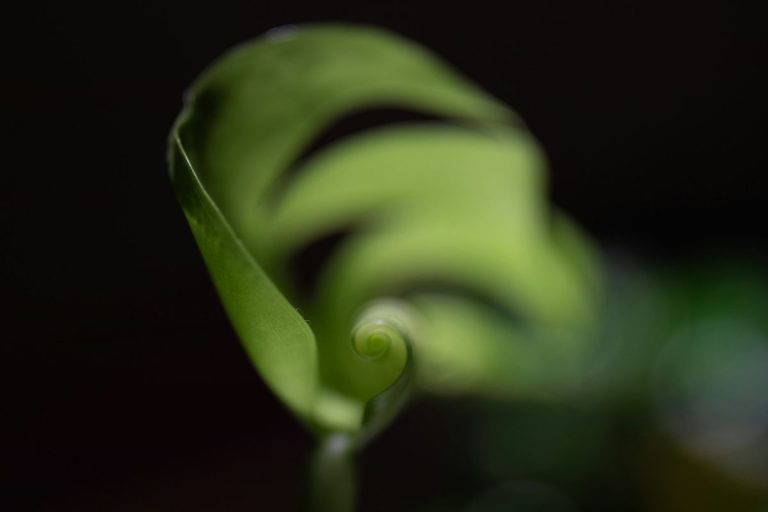
Spring arrives with a burst of life, but it also comes with a puzzle: those curling leaves on plants that make them look like they’re auditioning for a sculpture contest. While the shapes can seem whimsical, they carry important clues about what’s happening in soil, sunlight, and water. Ignoring them might lead to subtle stress…
How to Reduce Fungus Gnats Naturally
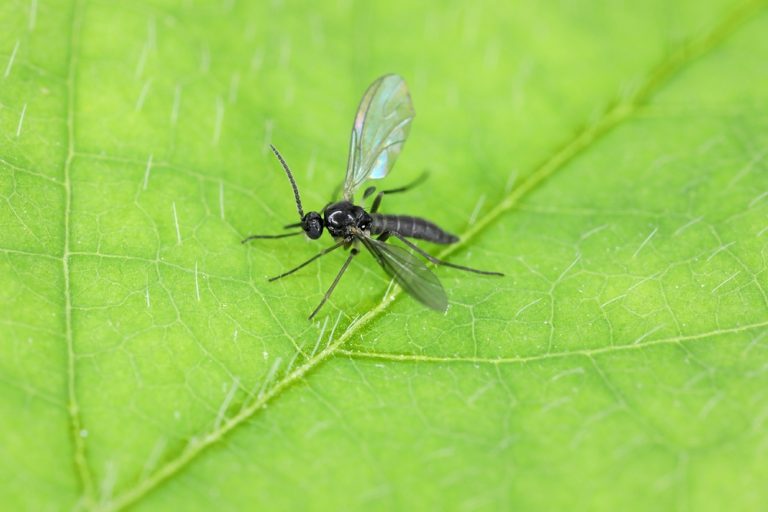
A cloud of tiny black flies hovering over a plant can ruin the entire vibe of a beautiful indoor garden in seconds. Those little pests don’t just look annoying, they signal a deeper issue happening right at the soil level. Fungus gnats thrive in damp conditions, and they turn overwatered soil into their personal breeding…
How to Spot Nutrient Deficiencies Early
A plant doesn’t ever whisper when something is going wrong. It signals loudly through color, shape, and growth, and those signals start long before leaves fall off or crops fail. Anyone who pays attention early gains the upper hand, because nutrient problems don’t show up overnight. They build slowly, and that slow buildup gives sharp…