8 Easy Tips to Revive Your Dying Plants and Save Money

8 Easy Tips to Revive Your Dying Plants and Save Money

Houseplants and garden plants bring life and beauty to our spaces, but they can sometimes struggle and appear to be on the brink of death. Knowing how to revive plants effectively can save money and help your greenery thrive again. Implementing a few simple strategies can bring your plants back to health and ensure they flourish. Here are eight easy tips to revive your dying plants and save money in the process.

1. Assess the Watering Situation

One of the most common reasons plants struggle is improper watering. Underwatering can cause wilting and dehydration while overwatering can lead to root rot. Check the soil moisture before watering; it should be slightly dry before you add more water. Ensure your plant pots have drainage holes to prevent excess water from accumulating. Adjust your watering schedule based on the plant’s specific needs and the environmental conditions.

2. Provide Adequate Light

Light is crucial for plant health, and insufficient light can cause plants to become weak and leggy. Identify your plants’ light requirements and place them in appropriate locations. For instance, succulents and cacti need bright, direct sunlight, while ferns and pothos prefer indirect light. If natural light is limited, consider using grow lights as a supplement. Proper lighting can significantly revive plants and promote vigorous growth.

3. Improve Soil Quality

Improve Soil Quality

The soil in which your plants grow is vital to their health. Poor soil quality can restrict root growth and limit access to essential nutrients. Repot your plants with fresh, high-quality potting mix that suits their needs, such as cactus mix for succulents or well-draining soil for tropical plants. Adding organic matter like compost can improve soil structure and nutrient content. Healthy soil creates an optimal environment for plants to recover and thrive.

4. Prune Dead or Damaged Parts

Pruning is essential for removing dead or damaged parts of your plants, allowing them to focus energy on new growth. Use clean, sharp scissors or pruning shears to cut away any yellowing, brown, or diseased leaves and stems. Be careful not to remove more than one-third of the plant at a time to avoid stressing it. Regular pruning encourages healthy growth and can significantly revive plants that are struggling. Proper pruning also helps maintain the plant’s shape and overall appearance.

5. Monitor for Pests

Pests such as aphids, spider mites, and scale insects can wreak havoc on your plants, causing them to weaken and deteriorate. Inspect your plants for signs of pests regularly, including for issues like sticky residue, discolored leaves, or visible insects. If you detect an infestation, treat it promptly with natural remedies like neem oil, insecticidal soap, or a strong water spray. Keeping pests under control helps revive plants by preventing further damage. Consistent monitoring is key to early detection and effective management of pests.

6. Fertilize Appropriately

Fertilize Appropriately

Plants need nutrients to grow, and depleted soil can lead to nutrient deficiencies. A balanced, water-soluble fertilizer provides essential nutrients like nitrogen, phosphorus, and potassium. Follow the recommended dosage and frequency to avoid over-fertilizing, which can harm plants. Organic fertilizers such as compost tea or fish emulsion are excellent choices for a gentle, slow-release nutrient boost. Regular fertilization helps revive plants by replenishing the nutrients they need for robust growth.

7. Ensure Proper Humidity

Many houseplants, especially tropical varieties, thrive in humid environments. Low humidity levels can cause leaf tips to brown and plant health to decline. Increase humidity around your plants by misting them regularly, using a humidifier, or placing a tray of water nearby. Grouping plants can also create a microenvironment with higher humidity. Proper humidity levels can revive plants struggling due to dry indoor air.

8. Repot When Necessary

Plants can become root-bound when they outgrow their pots, leading to restricted root growth and nutrient uptake. If you notice roots growing out of the drainage holes or circling the pot, it’s time to repot your plant. Choose a pot that is one size larger and refresh the soil with a suitable potting mix. Gently loosen the roots before placing the plant in its new pot to encourage healthy root expansion. Repotting provides plants with the space they need to grow and thrive.

Revive Your Dying Plants Today!

Revive Your Dying Plants Today!

Reviving your plants with these easy tips can save you money and bring your greenery back to life. By assessing watering practices, providing adequate light, improving soil quality, pruning, monitoring for pests, fertilizing appropriately, ensuring proper humidity, and repotting when necessary, you can create an optimal environment for your plants to flourish. These simple yet effective strategies can help you revive plants and enjoy a thriving indoor or outdoor garden. Taking the time to care for your plants properly not only enhances your living space but also provides a rewarding and cost-effective hobby.

Read More:

From Paper Towel to Potting Soil: The Ideal Time to Transplant Your Seedlings

9 Benefits of Neem Oil for Plant Health


5 Compelling Reasons to Purchase Seeds Over Harvesting from Fruits

Compelling Reasons to Purchase Seeds Over Harvesting from Fruits

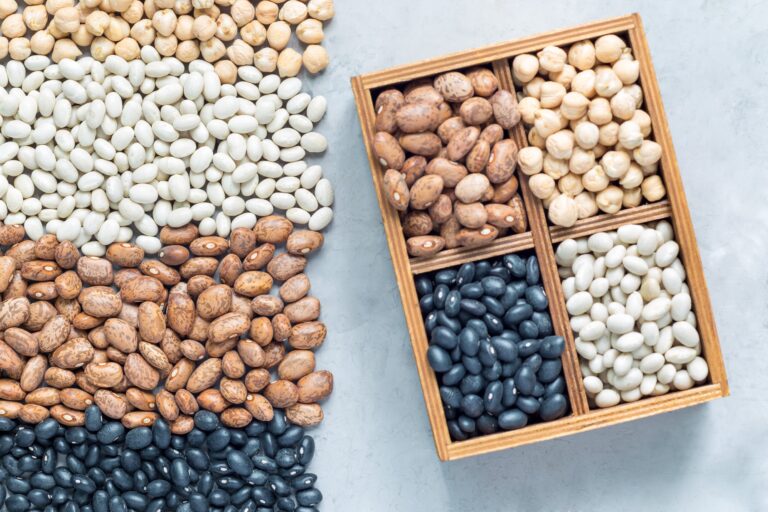
In the world of gardening, the choice between purchasing seeds and harvesting seeds from fruit can significantly impact the success of your planting season. While harvesting seeds from fruit may seem economical and sustainable, there are several compelling reasons to purchase seeds instead. This approach offers advantages ranging from genetic quality to ease of use, especially for beginner gardeners or those looking to achieve specific gardening outcomes. Here, we explore why purchasing seeds is often a better choice than harvesting seeds from fruit.

1. Guaranteed Germination and Purity

Guaranteed Germination and Purity

One of the primary reasons to purchase seeds from reputable suppliers is the assurance of high germination rates and seed purity. When you harvest seeds from fruit, there’s no guarantee that the seeds will germinate, as they might not be mature enough or could have been damaged during extraction. On the other hand, purchased seeds undergo rigorous testing to ensure they meet high standards of germination success and are free from contamination with other plants’ seeds. This is crucial for gardeners who want to maximize their planting efforts and ensure that every seed has the potential to flourish into a healthy plant.

2. Access to a Wide Variety of Species and Cultivars

Access to a Wide Variety of Species and Cultivars

Purchasing seeds allows gardeners access to a broader range of species and cultivars than what might be available through local fruits or even in local markets. Many seed suppliers offer an extensive catalog of options, including heirloom varieties, hybrids, and those suited for specific climates and soil conditions. This diversity enables gardeners to experiment with new types of plants that are not native to their area, or that offer better resistance to local pests and diseases. Additionally, some plants, especially hybrids, do not produce seeds that retain the parent plant’s desirable characteristics, making purchased seeds the only way to ensure the quality and traits of what you grow.

3. Disease-Free Assurance

Disease-Free Assurance

Purchased seeds typically undergo treatments to be disease-free, minimizing the risk of introducing pathogens into your garden that could spread to other plants. When you harvest seeds from fruit, there’s always a risk that these seeds carry diseases, which can devastate both new and established gardens. These diseases can remain dormant within the seed and then manifest once the plant begins to grow, potentially leading to widespread infection that can be difficult to control. Buying seeds from a reliable source ensures they have been screened and treated for common pathogens, offering a safer start for your plants.

4. Cost-Effectiveness and Time Efficiency

Cost-Effectiveness and Time Efficiency

While harvesting seeds from fruit might seem like a cost-saving measure, it can often be more time-consuming and less efficient, particularly if the seeds fail to germinate. The process of extracting, cleaning, and storing seeds properly is labor-intensive and requires precise conditions to maintain their viability. Purchased seeds, in contrast, come ready to plant and are packaged in quantities that match gardeners’ needs, eliminating the guesswork and inefficiency. This convenience can be particularly beneficial for those with limited time or those new to gardening, allowing them to focus more on the growing process rather than the preliminary steps of seed preparation.

5. Supporting Agricultural Biodiversity

Supporting Agricultural Biodiversity

By choosing to purchase seeds, particularly those that are organic or heirloom, gardeners can support agricultural biodiversity. Many seed suppliers play a role in preserving rare or endangered plant varieties by encouraging gardeners to cultivate them. This not only helps to maintain genetic diversity within plant species but also supports small and independent seed farmers who rely on the sales of unique and diverse seeds. In contrast, harvesting seeds from commonly available fruits often perpetuates the cultivation of a limited range of plant varieties, which can contribute to genetic erosion over time.

Purchase Seeds Instead of Harvesting from Fruits

Purchase Seeds Instead of Harvesting from Fruits

Numerous benefits – including guaranteed germination, access to a wide variety of plant species, disease prevention, cost-effectiveness, and the support of agricultural biodiversity – support the decision to purchase seeds rather than harvesting seeds from fruit. These factors make purchasing seeds an appealing option for both novice and experienced gardeners alike, ensuring a more successful and rewarding gardening experience. As the gardening community continues to grow, the choice of seeds will play a pivotal role in shaping the health and diversity of gardens around the world. Whether you’re looking to explore new plant varieties or achieve a bountiful harvest, purchasing seeds is a wise investment that can yield significant returns in the long term.

Read More:

5 Fast Growing Seeds for Beginner Gardeners

10 Techniques to Increase Germination Rate of Seeds


Enhance Your Garden Naturally with These Top 5 Organic Fertilizers

Enhance Your Garden Naturally with These Top 5 Organic Fertilizers

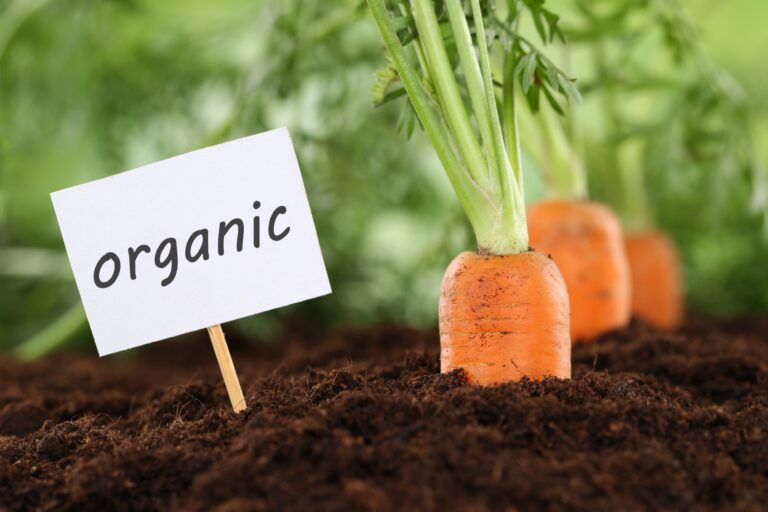
In an era where sustainability and organic living are more than just trends – they’re a lifestyle – the demand for natural garden care solutions is on the rise. For those with a green thumb, turning to organic fertilizers is a step towards nurturing your garden in harmony with nature. These fertilizers not only enrich the soil with essential nutrients, promoting healthy plant growth, but also ensure the safety of the environment, pets, and humans. Let’s delve into the top 5 organic fertilizers that can transform your garden into a flourishing oasis.

1. Compost: The Gardener’s Gold

Compost The Gardener's Gold

Compost, often hailed as the gardener’s gold, stands at the forefront of organic fertilizers. Made from decomposed organic matter such as leaves, kitchen scraps, and garden waste, compost is a powerhouse of nutrients. It improves soil structure, promotes moisture retention, and introduces beneficial microorganisms. Regularly adding compost to your garden beds can rejuvenate even the most tired soils, making it an indispensable ally in organic gardening.

2. Worm Castings: Nature’s Soil Conditioner

Worm Castings Nature's Soil Conditioner

Worm castings, the end product of the decomposition process by earthworms, are an excellent organic fertilizer. These castings are rich in water-soluble nutrients, making them an immediate food source for plants. Worm castings improve soil aeration and drainage, encourage robust root growth, and can even help reduce plant diseases. Incorporating worm castings into your soil is a gentle yet effective way to boost plant health and vitality.

3. Fish Emulsion: The Ocean’s Offering

Fish Emulsion The Ocean's Offering

Fish emulsion, derived from the byproducts of the fish industry, is a nutrient-rich, fast-acting liquid fertilizer. It’s high in nitrogen, which is essential for leafy growth, making it particularly beneficial for greens and lawns. Although its odor can be intense at first, it dissipates quickly, leaving behind a fertile ground for plant growth. Fish emulsion also contains trace elements that support overall plant health, making it a well-rounded choice for organic gardeners.

4. Bone Meal: Phosphorus Boost for Blooms

Bone Meal Phosphorus Boost for Blooms

Bone meal, made from ground animal bones, is an excellent source of phosphorus, a key element for flowering and fruiting plants. It also contains calcium and a small amount of nitrogen, making it a well-balanced fertilizer for promoting robust root development and vibrant blooms. Bone meal is particularly beneficial when planting bulbs and perennials, ensuring they get a healthy start and continue to thrive year after year.

5. Green Manure: Living Organic Fertilizers

Green Manure The Living Fertilizer

Green manure refers to cover crops such as clover, vetch, and alfalfa, planted specifically to enrich the soil. These crops are sown in off-seasons or between planting cycles and are later tilled back into the soil, where they decompose and release nutrients. Green manure crops improve soil structure, add organic matter, and can even help suppress weeds and prevent soil erosion. This living fertilizer is an excellent strategy for maintaining soil fertility and ensuring the sustainability of your garden.

Tips for Using Organic Fertilizers

Tips for Using Organic Fertilizers

While organic fertilizers offer numerous benefits, their effective use requires some know-how. Here are some tips to maximize their potential in your garden:

  • Test Your Soil: Before adding any fertilizer, it’s wise to test your soil to understand its nutrient content and pH level. This will help you choose the most appropriate organic fertilizer for your garden’s needs.
  • Follow Directions: Even natural products can be harmful in excess. Use organic fertilizers according to package directions or general guidelines to avoid over-fertilization.
  • Complement with Good Practices: Organic fertilizers work best in conjunction with good gardening practices such as mulching, proper watering, and crop rotation.
  • Be Patient: Organic fertilizers often release nutrients slowly, so don’t expect overnight results. The benefits they bring to soil health and plant vitality are long-lasting.

Why You Should Choose to Garden Naturally with Organic Fertilizers

Why You Should Choose to Garden Naturally with Organic Fertilizers

Embracing organic fertilizers is more than just a gardening choice; it’s a commitment to nurturing the earth that sustains us. By choosing natural over synthetic, gardeners can play a crucial role in promoting ecological balance and biodiversity. Whether you’re a seasoned green thumb or a budding gardener, integrating these top 5 organic fertilizers into your garden care routine can lead to a healthier, more vibrant garden that thrives in harmony with nature. Remember, the best gardens are those tended with care, patience, and a deep respect for the natural world.

Read More:

Should I Use Enviro Ice on My Plants?

2 Homemade Fertilizers You Can Sell


Spring Is Almost Here: 5 Gardening Rules to Ensure Your Garden is Ready

Gardening Rules to Ensure Your Garden is Ready

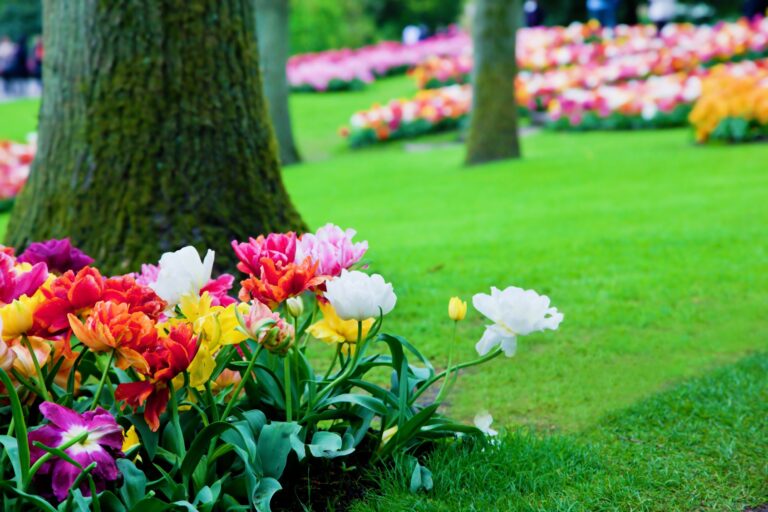
As winter recedes and the first signs of spring start to appear, gardeners everywhere feel a renewed sense of excitement and anticipation. Preparing your garden for the new season is not just a ritual; it’s a promise of growth, renewal, and the beauty that lies ahead. To ensure your garden thrives, follow these five essential gardening rules tailored to the unique demands of the early spring season.

1. Start with a Clean Slate: Clearing and Prepping Your Beds

Start with a Clean Slate

Before you plant a single seed, it’s crucial to clear your garden beds of last season’s remnants. Remove dead foliage, weeds, and any debris that accumulated over the winter months. This not only tidies up your garden but also prevents the spread of diseases and pests that could have overwintered in the plant matter.

Once cleared, enrich your soil by incorporating compost or well-rotted manure. This will replenish nutrients lost over the previous growing season, ensuring your plants have the food they need to flourish. Additionally, consider testing your soil’s pH to make sure it’s optimal for the types of plants you intend to grow. Tailoring your soil to your garden’s needs is a foundational step that sets the stage for a successful growing season.

2. Timing is Everything: Know When to Plant

Timing is Everything

One of the most common gardening missteps is planting too early. While the first warm days may tempt you to start sowing, patience is vital. Keep an eye on local frost dates and wait until the danger of frost has passed before planting sensitive seedlings. Utilize weather apps or consult local gardening groups for the most accurate information tailored to your area.

For those eager to get started, focus on cool-season crops like peas, lettuce, and kale, which can tolerate lower temperatures. Starting these plants early can extend your growing season and lead to an earlier harvest. Remember, understanding the needs of each plant in terms of temperature and timing can be the difference between a thriving garden and a disappointing one.

3. Prune to Promote Health and Growth

Prune to Promote Health and Growth

Early spring is the ideal time for pruning many types of plants. Pruning not only helps to shape your plants but also encourages healthy growth and flowering. Focus on removing dead or diseased branches, as well as any that cross or rub against each other, which can lead to damage and disease.

However, be mindful of the flowering habits of your plants. For spring bloomers, it’s best to wait until after they’ve flowered to prune, as they set their buds the previous year. Understanding the specific needs of each plant in your garden will ensure you’re pruning in a way that promotes optimal health and beauty.

4. Don’t Forget Mulch: Protect and Nourish Your Soil

Don’t Forget Mulch

Applying a fresh layer of mulch in your garden beds not only improves the appearance of your garden but also provides numerous benefits to your plants. Mulch helps retain soil moisture, suppresses weeds, and keeps soil temperatures consistent, creating a more hospitable environment for plant roots.

When mulching, be sure to leave a small gap around the base of plants to prevent moisture buildup, which can lead to rot. Opt for organic mulches like shredded bark or straw, which will break down over time and add nutrients to your soil. Remember, a well-mulched garden is a healthier and more resilient garden.

5. Water Correctly: Establishing Strong Roots

Water Correctly

Proper watering is crucial, especially as new plants are getting established. Overwatering can be just as harmful as under-watering, leading to root rot and other issues. Ensure your garden has adequate drainage and water plants at the root level to encourage deep root growth.

If you have the means, consider installing a drip irrigation system or soaker hoses for more efficient watering. These systems deliver water to the base of the plant directly, minimizing waste and reducing the risk of foliar diseases. Additionally, watering in the early morning allows plants to fully absorb moisture before the heat of the day, reducing evaporation and ensuring your plants stay hydrated.

Gardening Rules Ensure You’re Ready for Spring!

Gardening Rules Ensure You’re Ready for Spring

Preparing your garden for spring is an act of optimism and foresight. By following these essential gardening rules, you set the stage for a season of growth, beauty, and bounty. Clear and prep your beds, time your plantings wisely, prune for health and growth, mulch to protect and nourish, and water with care. With these practices in place, your garden will not only be ready for spring but will thrive throughout the growing season. Happy gardening!


Lettuce – Key Growing and Transplanting Information

when to transplant lettuce seedlings

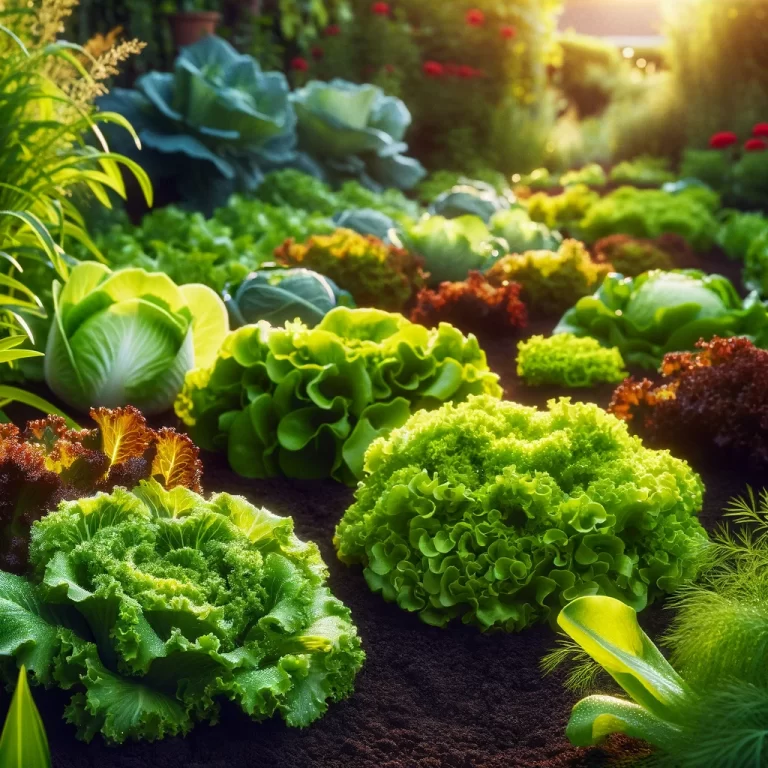
Lettuce is a staple in salads and sandwiches, and its popularity continues to rise as people seek healthy, fresh, and locally sourced food options. With an increasing interest in home gardening and sustainable agriculture, understanding the nuances of growing lettuce, when to transplant lettuce seedlings, and more are potentially critical. Here’s an overview of the essential techniques and tips for cultivating lettuce successfully, ensuring a bountiful harvest that aligns with current green living trends.

Choosing the Right Lettuce Variety

Choosing the Right Lettuce Variety

Selecting the appropriate lettuce variety is crucial for your garden’s success. With options ranging from crisphead, romaine, leaf, and butterhead, each type has unique requirements and benefits.

Crisphead varieties, like icebergs, are known for their crunchy texture but require cooler growing conditions. Romaine – a favorite for Caesar salads – offers a longer harvest period and is more heat-tolerant.

Leaf lettuces, such as oak leaf and red leaf, are prized for their colorful and tender leaves, making them a perfect choice for a visually appealing garden. Butterhead lettuces (including Boston and Bibb) are valued for their soft, buttery texture and compact size, ideal for smaller gardens.

Understanding the specific needs and characteristics of each variety will help you choose the best type for your climate, space, and culinary preferences. That way, you can work your way toward a successful harvest.

Optimal Growing Conditions

Optimal Growing Conditions

Lettuce thrives in cool temperatures, typically between 60-70°F (15-21°C), making it ideal for spring and autumn cultivation. Additionally, it requires well-drained, nutrient-rich soil with a pH between 6.0 and 7.0.

Incorporating compost or well-rotted manure into your garden beds can significantly improve soil fertility and structure. Lettuce is a relatively light feeder, but a balanced application of a nitrogen-rich fertilizer at planting time will promote vigorous growth. Additionally, a mulch layer can retain moisture, regulate soil temperature, and suppress weeds, creating an optimal growing environment for your lettuce.

Sowing Seeds Directly

Sowing Seeds Directly

For many gardeners, sowing lettuce seeds directly into the garden is a straightforward approach. This method reduces transplant shock and can lead to hardier plants.

When sowing, distribute the tiny seeds evenly over the prepared soil and lightly cover them with a fine layer of soil or compost. Keeping the soil consistently moist is crucial for germination, which typically occurs within 7-10 days. Thin the seedlings to their recommended spacing once they’ve developed a few true leaves, ensuring each plant has enough room to grow.

Starting Seeds Indoors

Starting Seeds Indoors

Starting lettuce seeds indoors allows for an earlier start to the growing season, particularly in regions with short growing periods. Sow seeds in a well-draining seed starting mix, lightly covering them with soil. Place the containers in a warm, well-lit area or under grow lights to encourage germination.

Once seedlings emerge, ensure they receive plenty of light to prevent leggy growth. Harden off the seedlings by gradually exposing them to outdoor conditions over a week before transplanting to reduce shock.

When to Transplant Lettuce Seedlings

When to Transplant Lettuce Seedlings

Transplanting lettuce seedlings into the garden or larger containers is a critical step, so knowing when to transplant lettuce seedlings to get the best result is a must. Ideally, choose a cool, overcast day to transplant, whenever possible, to minimize stress on the plants.

Prepare the planting site by loosening the soil and adding compost or a balanced fertilizer. Then, carefully remove the seedlings from their containers, disturbing the roots as little as possible, and plant them at the same depth they were growing in the containers. Space the plants according to the variety’s requirements, and water them thoroughly after planting to settle the soil around the roots.

Watering and Weed Management

Watering and Weed Management

Consistent watering is essential for lettuce, which prefers a steady supply of moisture to develop tender, crisp leaves. Drip irrigation or soaker hoses are ideal for delivering water directly to the root zone, minimizing leaf wetness and the associated risk of fungal diseases.

Additionally, mulching around your lettuce plants not only helps retain soil moisture but also suppresses weed growth. Weeds compete with lettuce for nutrients and water, so maintaining a weed-free bed is crucial for the health of your plants.

Pest and Disease Control

Pest and Disease Control

Lettuce is susceptible to various pests and diseases, including aphids, slugs, and powdery mildew. Regular monitoring and early intervention are vital to managing these challenges.

Employing integrated pest management (IPM) strategies – such as introducing beneficial insects, using row covers to protect plants, and practicing crop rotation – can significantly reduce pest and disease issues. Avoid overhead watering to prevent the spread of fungal diseases, and keep the garden clean of plant debris to discourage pests.

Ongoing Care and Maintenance

Ongoing Care and Maintenance

Regular maintenance is vital to a bountiful lettuce harvest. Keep the soil consistently moist but not oversaturated, and apply a mulch layer to retain moisture and suppress weeds. Monitor for pests like aphids and slugs, which can be controlled through natural predators or safe, organic pesticides. Rotate lettuce crops each year to prevent soilborne diseases and maintain soil health.

Harvesting and Post-Harvest Care

Harvesting and Post-Harvest Care

Knowing when to harvest your lettuce is key to enjoying its optimal flavor and texture. Leaf lettuces can be harvested as soon as they’re large enough to eat, either by picking individual outer leaves or cutting the whole plant at the base. In most cases, head lettuces are ready when the head feels firm and tightly packed.

After harvesting, wash your lettuce gently in cold water and dry it thoroughly to prevent wilting. Then, store it in the refrigerator in a plastic bag or container to maintain freshness.

Growing Lettuce Successfully

Growing Lettuce Successfully

As home gardening and local food sourcing continue to trend, mastering the art of lettuce cultivation is a valuable skill for any green thumb. Ultimately, growing and transplanting lettuce successfully requires attention to detail, from selecting the right variety to managing pests and diseases. Fortunately, by following the guidelines above, gardeners can enjoy a continuous supply of fresh, tasty lettuce from their backyard, contributing to a sustainable and healthy lifestyle.