You know that slightly smug feeling you get in the fall when your garden still looks fantastic while everyone else’s plants are starting to give up on life? That joy lasts exactly until the first cold snap, when suddenly your previously thriving greenery looks like it’s auditioning for a winter disaster movie. Here’s the twist…
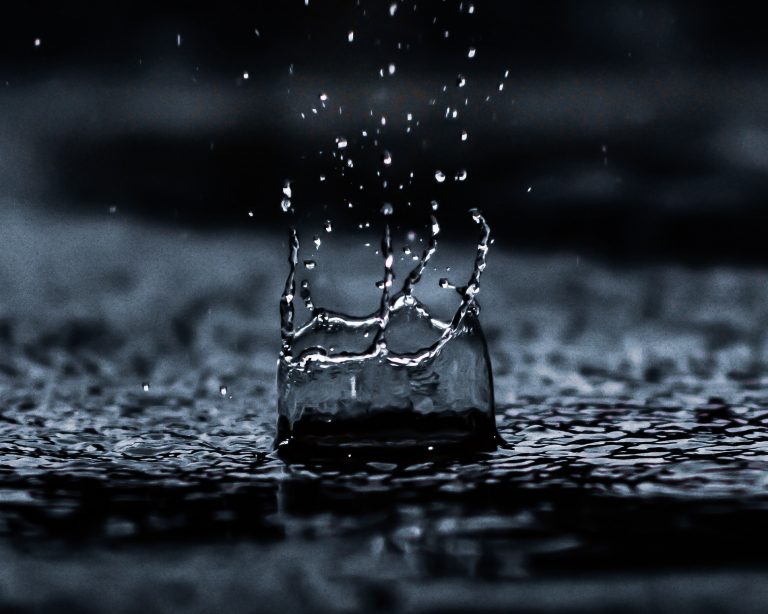
watering
Why Late Fall Watering Saves Roots From Damage
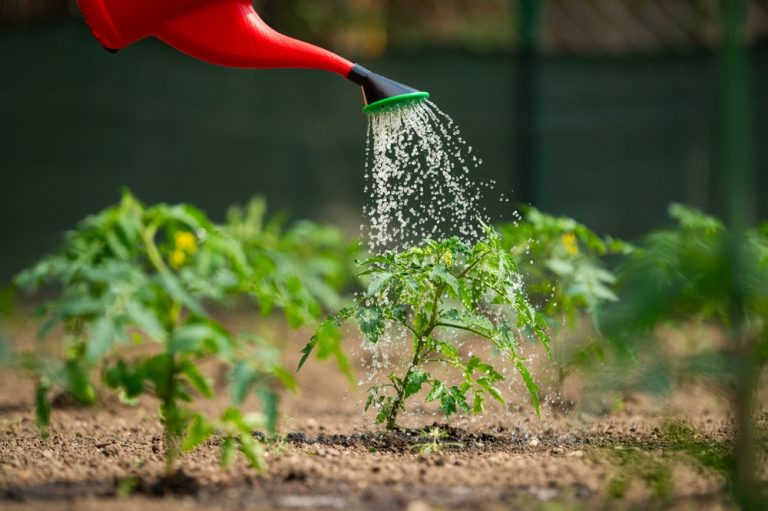
When the fall air sharpens, leaves get crispy underfoot, and your garden quietly prepares for its long winter nap, things feel wonderful and special. But while everything above ground is slowing down, what’s happening beneath the soil is far from sleepy. Roots are still active, still vulnerable, and still counting on you to give them…
12 Crops That Need Extra Watering Before Frost
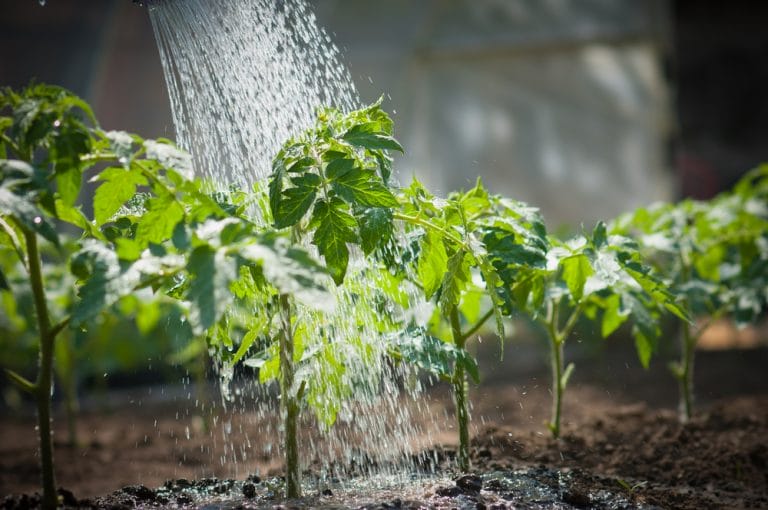
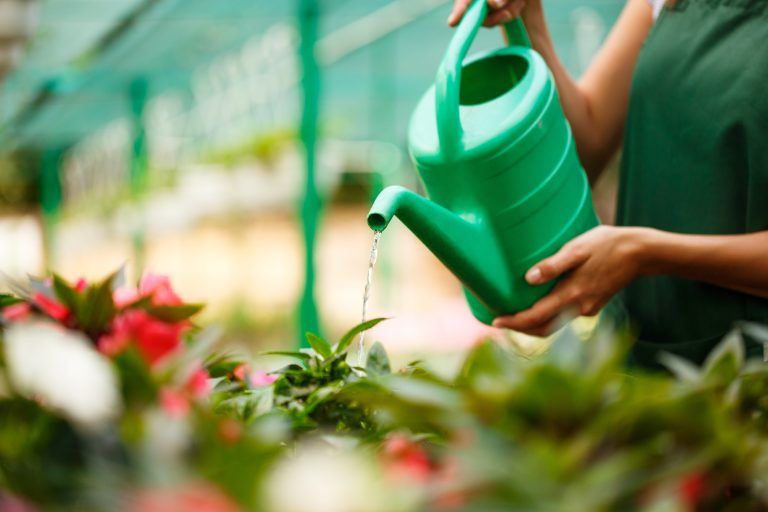
The air turns crisp, the nights grow longer, and your garden—once bursting with color—suddenly feels like it’s holding its breath. You can almost sense the frost lurking, waiting to strike when you least expect it. Before that first icy night arrives, your plants are begging for one last favor: a deep, refreshing drink. Yep, watering…
The Hidden Dangers of Overwatering in Cooler Months

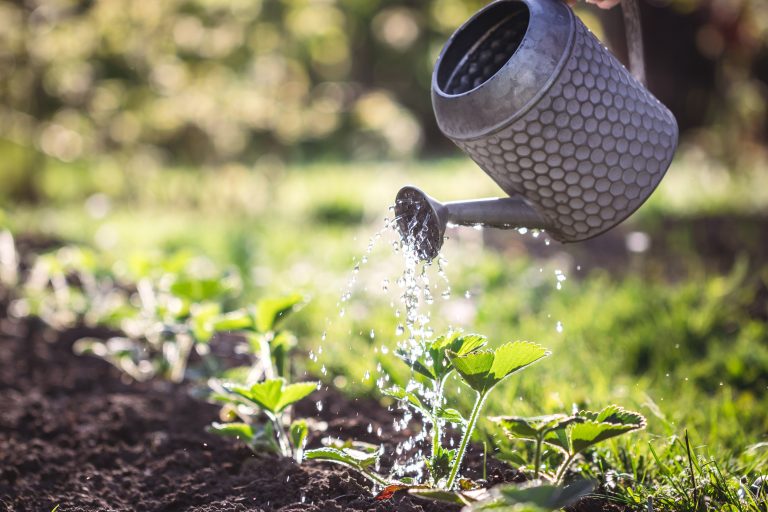
You’ve just finished raking leaves, your sweater game is on point, and your plants seem cozy in their seasonal slowdown. But here’s the sneaky truth: while you’re sipping hot cocoa and worrying about frost, your watering can could be your plants’ worst enemy. Overwatering in cooler months is like giving someone a heavy winter coat…
The Best Time of Day to Water—And Why Most People Get It Wrong
You’ve probably seen it before—your neighbor out there with a hose in hand at high noon, giving their lawn a good soaking while the sun blazes overhead. It might look productive, but here’s the truth: most people are watering their lawns, gardens, and plants at exactly the wrong time of day. And this simple mistake…
The Watering Technique That Prevents Root Rot
Have you ever poured love (and way too much water) into your houseplants, only to watch them turn yellow, droopy, and—sadly—lifeless? Chances are, root rot was the culprit. It’s the silent assassin of indoor gardens everywhere, sneaking in when your watering habits go just a little too heavy-handed. But don’t toss your plant babies into…
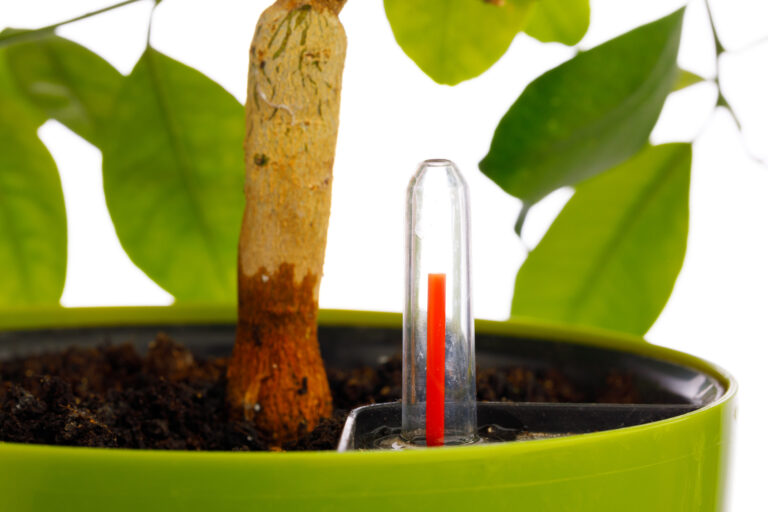
5 Cheap Ways to Self Water Plants
Some people love the ritual of watering their plants each day. However, many of us like to simplify our schedules by setting up systems whereby plants can self water. Moreover, there might be times when you need plants to water themselves, such as when you go on vacation. It’s good to know some cheap ways…
4 Frugal DIY Drip Irrigation Systems
Buying a fancy drip irrigation system is one way to go. But it’ll cost you. Instead, consider a DIY drip irrigation system. Either way, you’ll need to spend time installing irrigation, so why not save a few bucks, too? Benefits of drip irrigation You’ve got a hose or a sprinkler, so why invest…
5 Factors That Affect Plant Growth
Many factors affect plant growth. Plants have a few basic needs. Having these needs unmet will cause them to perish. There are also factors outside of a gardener’s control that can impact how well a plant grows. While some variables are out of your control, there are things that you can influence. What affects plant growth?…
Harvesting Rainwater for the Frugal Gardener
Gardening requires quite a bit of water. For many gardeners that means an increase in their water bill during the hot summer months. Statistics show that lawn and garden watering make up at least 40% of our total household water use. Frugal gardeners, however, can take advantage of rainwater by bringing back an age-old,…