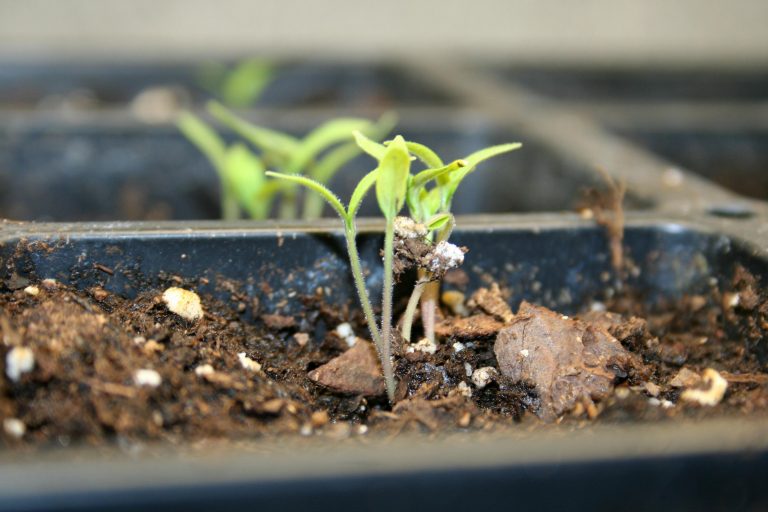
I spent a significant chunk of my Friday afternoon cleaning out the furnace room in my home. In the past, it’s doubled as my grow room, the place where I start seedlings and pot up plants when the weather is less than ideal outside. In the past year or so, it’s also seemingly become our…
Uncategorized
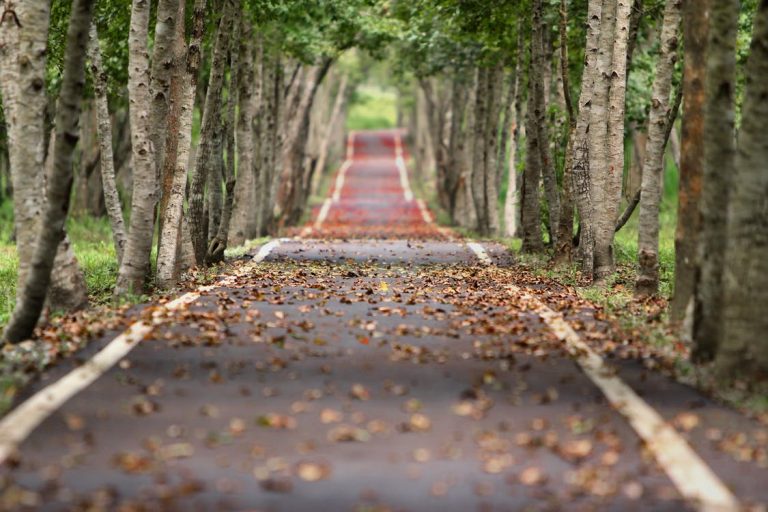
Gold in the Garden: Fallen Leaves
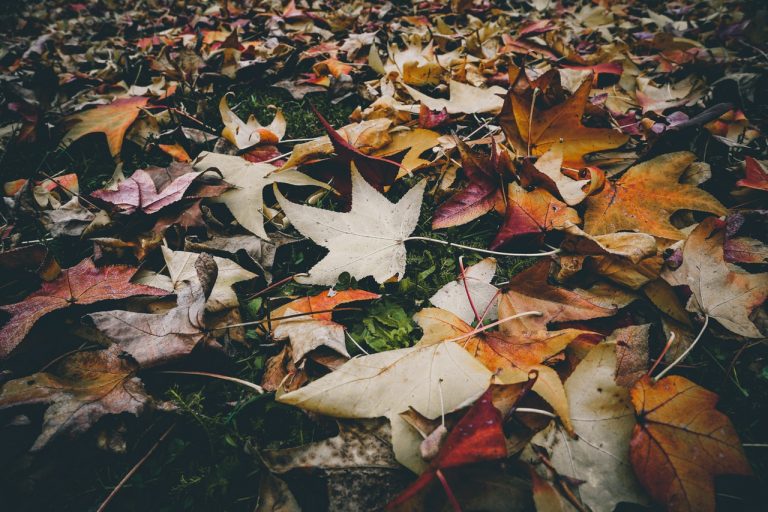
Get out your rake and get those leaves piled up because they’re not just a nuisance, they’re the perfect free tool for the frugal gardener. Enlist the help of a friend and collect all those leaves for use right in the garden. No need to buy bags to dispose of them! Ways to Use Raked…
Is it Worth it to Grow Your Own Pumpkins?

A few years back, someone asked me whether I grew my own pumpkins for the fall season. For pies, decoration, and soups. I didn’t have any in my garden, and it made me wonder why not. In theory, I could grow beautiful pumpkins and not have to bother buying an expensive Jack-O-Lantern when Halloween came…
Queen of the Cold Months: Kale
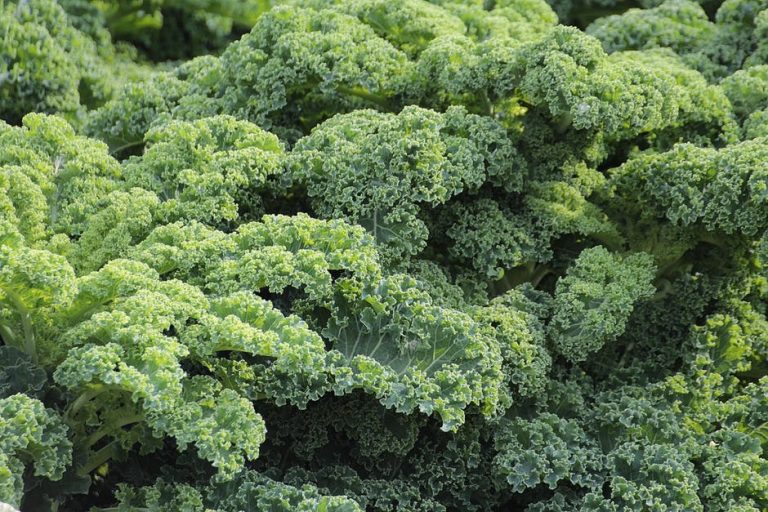
My favorite season is officially here. It’s a good thing most of my favorite vegetables are frost-hardy, cool season varieties. I recently translated some kale – one of my all-time fav veggies – into my designated winter beds, and they’re doing great. The kale trend seems to have come and gone, but I’m not hopping…
The Cleanup Begins
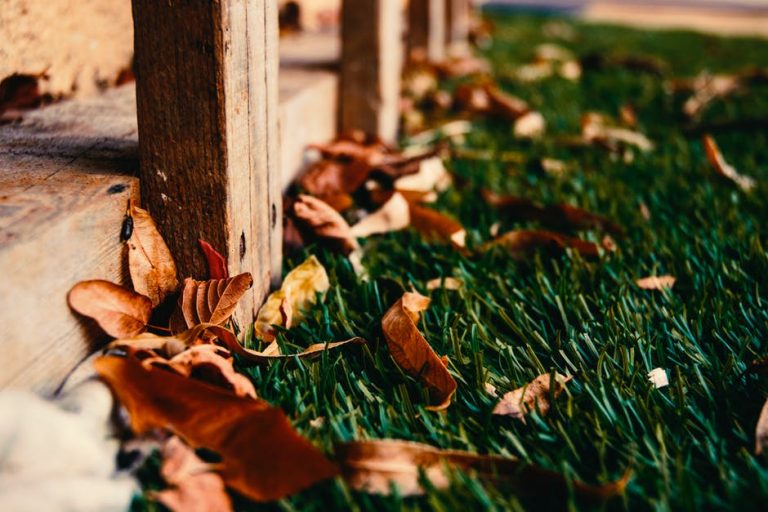
I was going to write about dehydrating this week, but I haven’t gotten around to that task yet. Hopefully, my herbs won’t be wilted by the time I get to it! Instead, I’ve found myself mostly tidying up the garden in anticipation of the end of the season. The weather has cooled down considerably, but…
Recipe: Garden Inspired Sushi Bowls
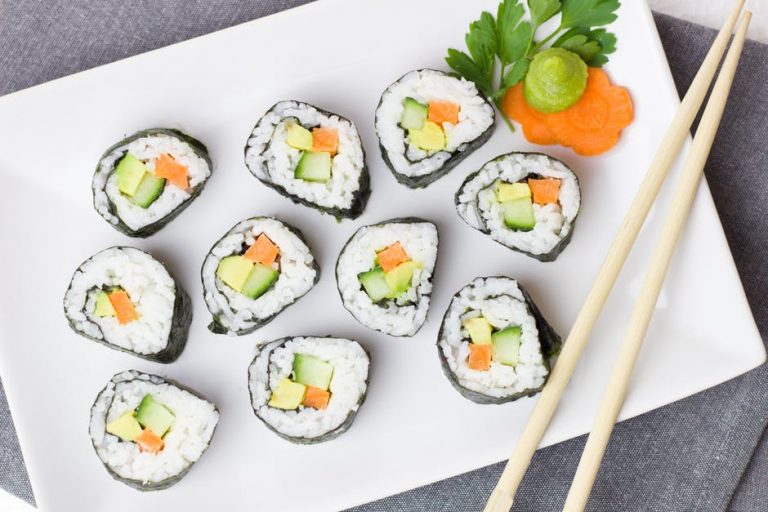
I love sushi. I could eat a truckload of rolls at once. But, it’s expensive. Even the grocery store stuff has a price tag that makes me cringe. While I love treating myself to a sushi dinner once in a while, I realized that what I love about this food is how fresh it tastes….
Goodbye Summer: Time to Keep an Eye on the Forecast
Here in the Northeast, summer seems to have disappeared overnight. Which, I’m totally fine with. I honestly only appreciate the warm weather because it makes my garden happy. I’m ready to embrace the cold right about now. I find having a winter break is an excellent way to reset my motivation meter for the next…
3 Key Pieces of Information for the Frugal Gardener
Gardening on a budget doesn’t have to be difficult, but it requires some know-how. Like any other gardener, a frugal one needs to be aware of certain essential pieces of information. What’s the difference? Someone who isn’t worried about over-spending can get away with making mistakes. While errors are part of the learning process, especially…
Frugal Gardening: Battling Burnout
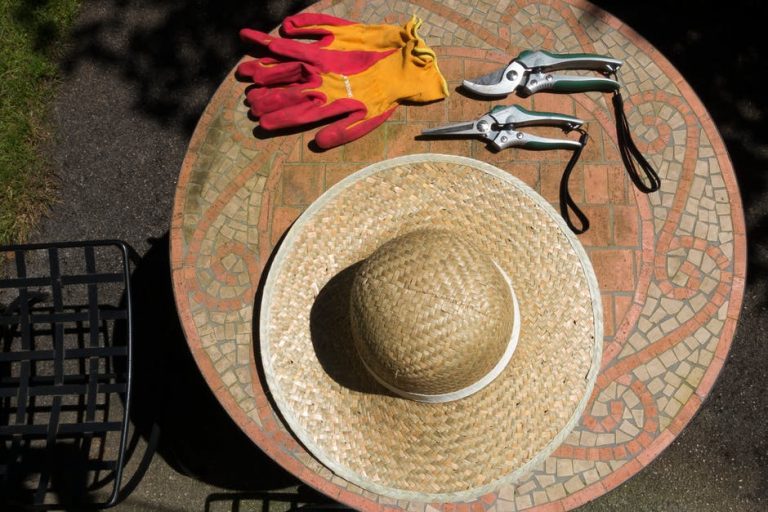
As September draws near, this is the time of year I find myself most vulnerable to gardening burnout. Midsummer weather is fierce, produce starts to ripen at a lightning fast pace, and weeds seem to grow out of control all of a sudden. If you’re new to gardening, this is an especially delicate time. But…
Keeping Up With the Harvest: Using All Those Cucumbers
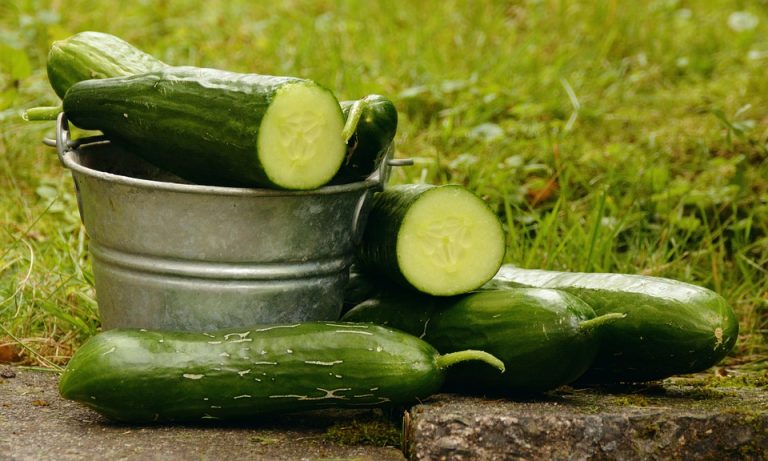
If you’re like me and decided to plant cucumber this year, it’s likely that you’re currently dealing with a deluge of them. Cucumber plants are an excellent choice for the frugal gardener since just one plant yields a lot of fruit. The tough part is coming up with ways to eat it all! There’s only…