Think about the last time you were severely dehydrated. You probably felt sluggish. Maybe you also had a pounding headache. Overall, it’s not a fun experience. A garden probably feels the same way when it lacks water. Like humans, plants need H2O to survive and can’t live long without hydration. Over the years, I’ve learned…
Uncategorized
3 Vegetables You Can Use from Top to Bottom
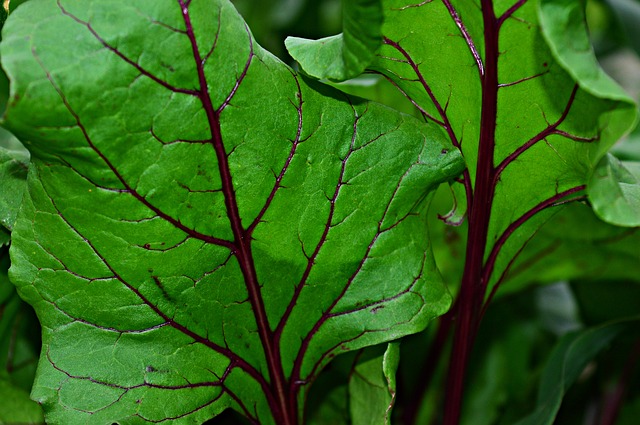
Avoiding waste at all costs is extremely important to me as a frugal gardener. Throwing away parts of a plant that I might be able to use is akin to throwing money in the trash! Now is the time of year where I’m in full harvest mode. I also receive a weekly CSA farm basket…
Knowing When to Harvest Garlic and Potatoes
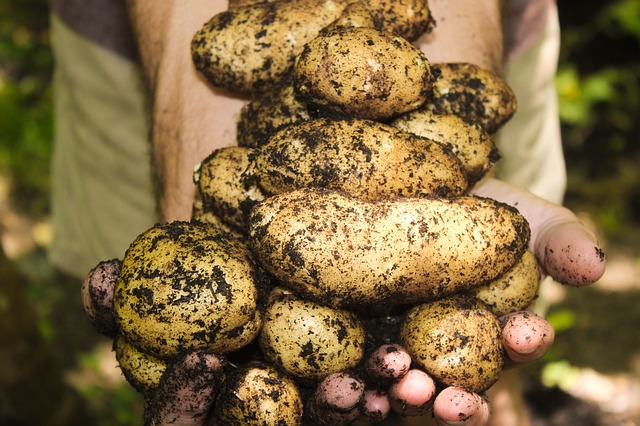
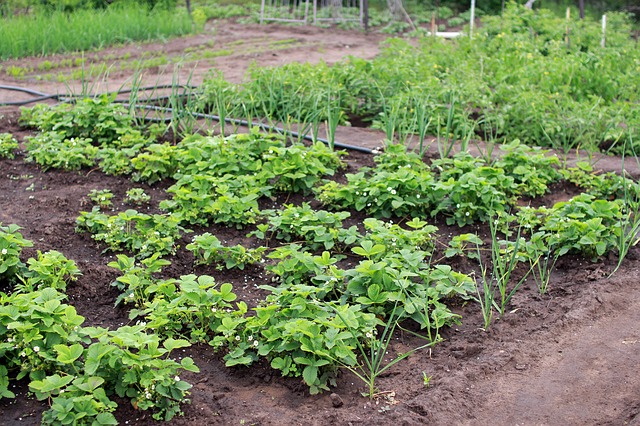
I love this time of year! It’s truly when the garden looks best. Everything is bright green, there are pops of color here and there, and I’m harvesting things consistently. It feels like the garden is alive. Harvesting kale and other greens is a breeze. I can easily spot when a tomato is ripe for the…
Adventures in Soil Testing
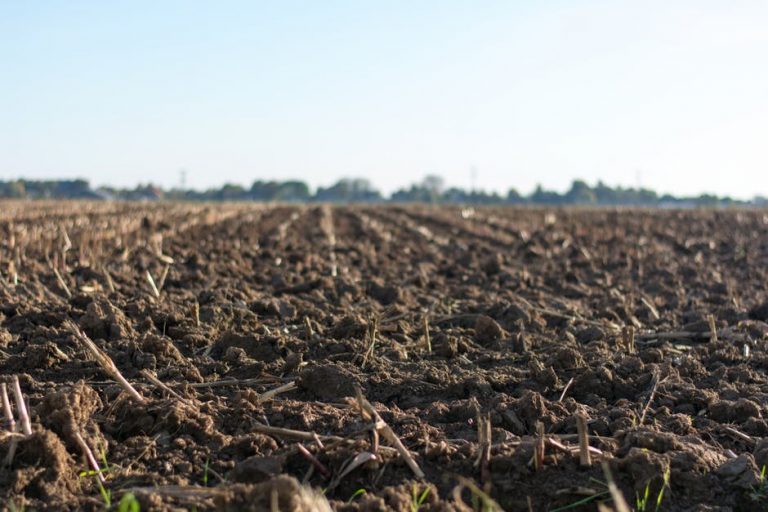
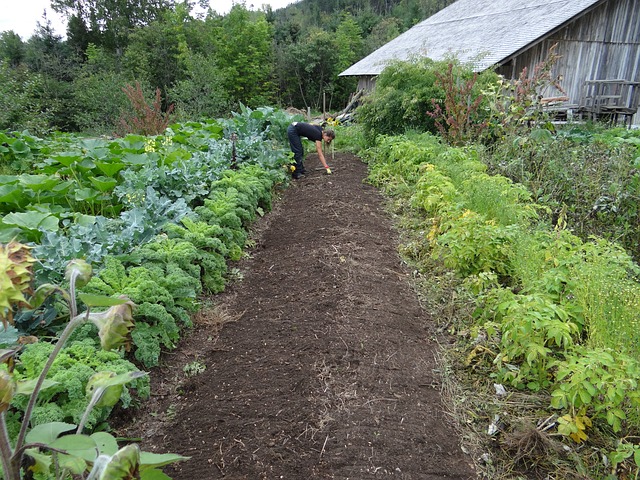
Summer has arrived at our doorstep. The temperatures are heating up, the sun is out in full force, and the garden is filling out nicely. I’m continually finding things to do, even though the main planting period has passed. Now, it’s all about maintenance and succession sowing. I check on the garden each day to…
Bigger Isn’t Always Better for the Frugal Gardener
Over the years as I’ve worked to maintain and cultivate my garden frugally, I’ve realized that bigger isn’t necessarily better. When I used to garden in a small partially shaded area, I often dreamed of a larger plot of land where I could expand my efforts. I no longer wanted to be stuck with a…
The Importance of Daily Garden Checks
I try to walk through my garden on a daily basis. Whether it’s bright and early on a weekday morning when the rabbits are out, and there’s still dew sitting on leaves, or it’s evening, and the sun is setting. Even when my schedule is out of control, I make it a priority to visit…
Do I Really Need to Start Seeds Indoors?
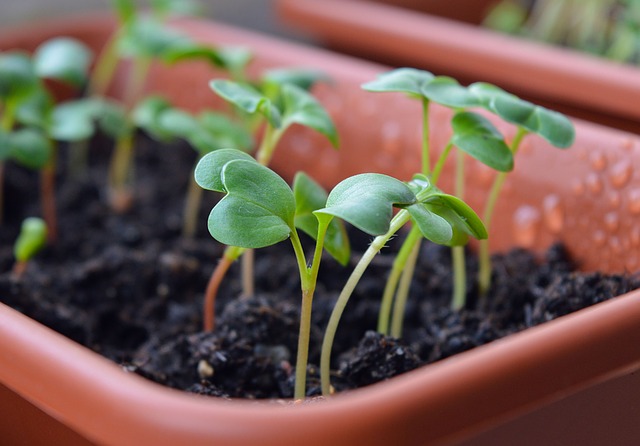
Seed starting this year was hit or miss. A few things grew beautifully, but I had to deal with a lot of problems. Seeds were not sprouting, mold was forming on the soil, and I had to deal with damping off. I worked hard to sanitize my seed starting equipment and create a hospital environment…
Hardening Off: What is it and Why Does it Matter?

A friend recently asked me about the process of hardening off plants, so I decided to answer the question here. Hardening off is something I didn’t realize was necessary when I first began gardening. I didn’t have to deal with the consequences of skipping the step, though, because in my early gardening days I mostly…
Seed Starting on a Budget Series: Avoid These 5 Mistakes
You’re bound to mess up at some point or another in your gardening life. That’s fine. I’ve made plenty of errors in the ten or so years that I’ve been a gardener. Much that I’ve learned is the result of messing up. I love that I’m able to experiment in my garden, and if I…
Seed Starting Series: Air Circulation
Frugal gardeners can’t afford to leave a lot to chance during the seed starting process. Failed starts means wasted time, effort, and money. While failure happens more often than I’d like sometimes, I always find a way to learn from my mistakes. Otherwise, what’s the point? Sometimes, it’s out of our hands. But, if my…