
Browsing a seed catalog or shopping at a local plant nursery can be overwhelming. Especially for a new gardener! I still have a tough time making selections. With so many choices, it’s hard not to go overboard. When I’m purchasing seeds, I try to consider my space and needs so I can maximize returns. I…
seed starting
Cheap and Economical Humidity Dome Alternatives
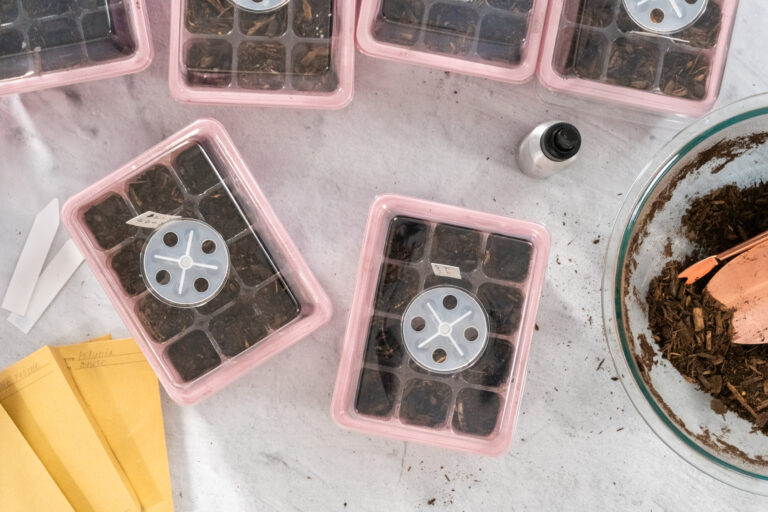
If you grow your plants from seeds then you probably know what a humidity dome is. (If not, don’t worry, we’ll go over it briefly below.) Just like with all of your other gardening supplies, you can buy humidity domes from a variety of different sources. However, you can also DIY them. Here are some…
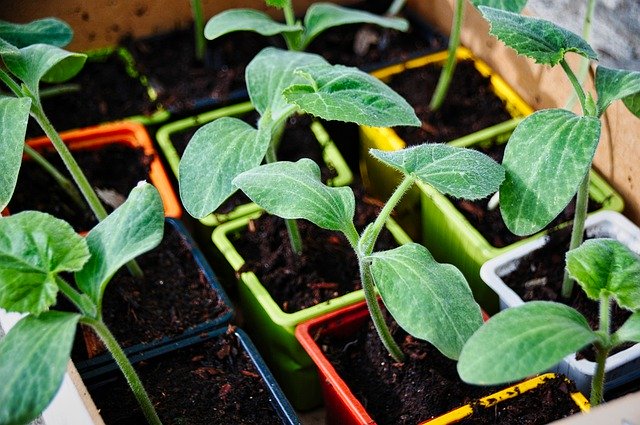
Starting Seeds Inside: The Basic Guide
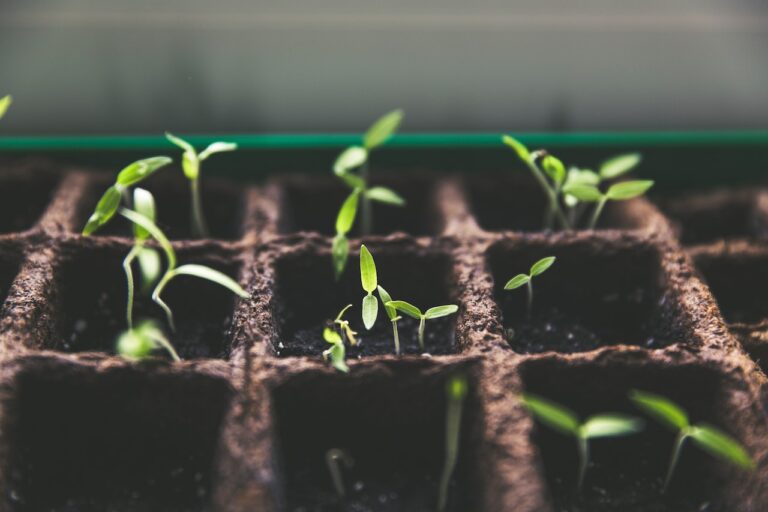
This is the time of year my family would begin starting seeds inside. The first week of February was about dreaming of summer by fixing the soil in seedling trays. The next several weeks brought tiny little plants that always fascinated me. This post will teach you the basics of seed starting and give…
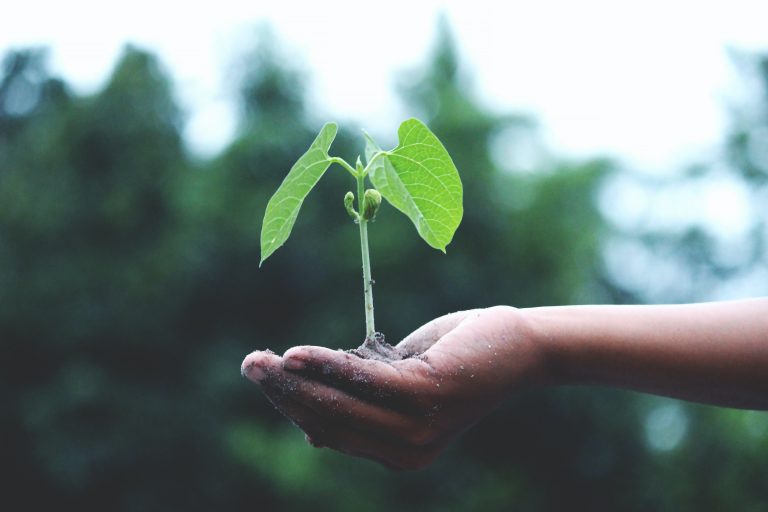
7 Plants You Can Direct Seed
Recently, I’ve mentioned that this year I just don’t have the bandwidth to garden like I usually do. But that doesn’t mean I’m completely abandoning my favorite hobby. Although I didn’t start seedlings indoors, I still have a vast collection of seeds at my disposal, and I’ve already started sketching a plan for what…
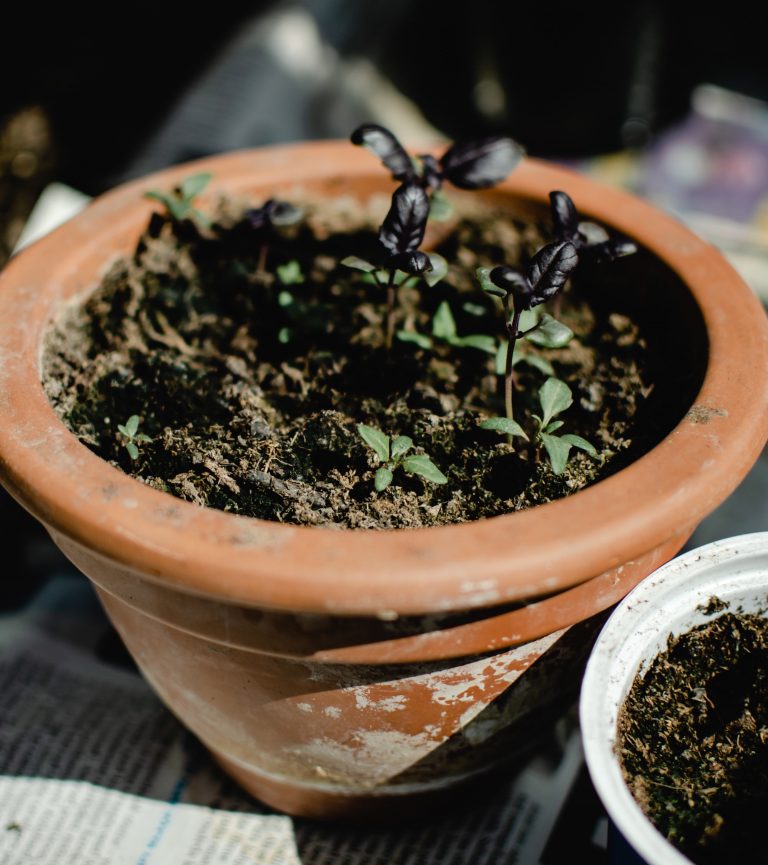
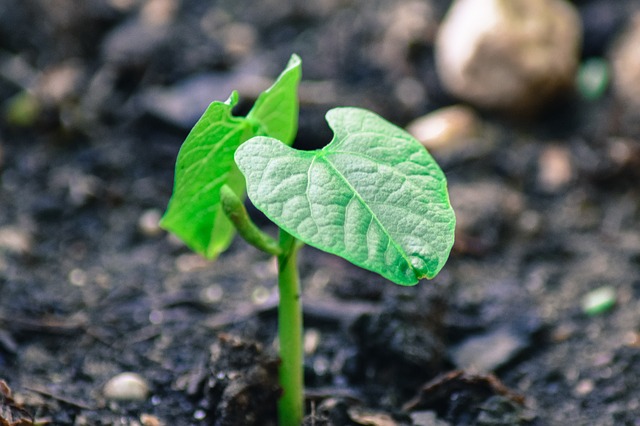
10 Top Reasons Why Seeds Don’t Germinate
There are a lot of reasons why seeds don’t germinate. Knowing what can go wrong is the first step in solving the problem. If you’re struggling to start seeds this spring, here are a few things to look out for. Why Aren’t Seeds Germinating? Here are a few common reasons why seeds don’t germinate….
Do Pre-Packaged Seeds Grow Faster Than Fresh Seeds?
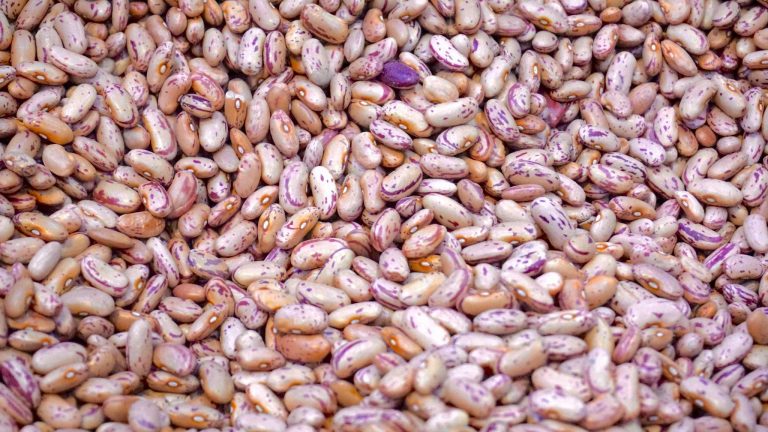
It’s that time of year when the seed catalogs start arriving in the mailbox. Getting new packets of seeds from a seed supplier is a real treat. Knowing that those carefully harvested seeds will eventually grow into food or flowers is so exciting. It’s just as satisfying to sort through personally harvested seeds from…
Troubleshoot the Seed Starting Process
While every other region seems to be experiencing a thaw, it’s still mostly frozen here. My starts are happily enjoying their spots under the indoor lights and this weekend I’ll be starting another batch of plants like kale and Chinese broccoli. I happened upon a sale and purchased two additional plastic shelving units to hang…
What Are the Different Ways to Germinate Citrus Seeds?
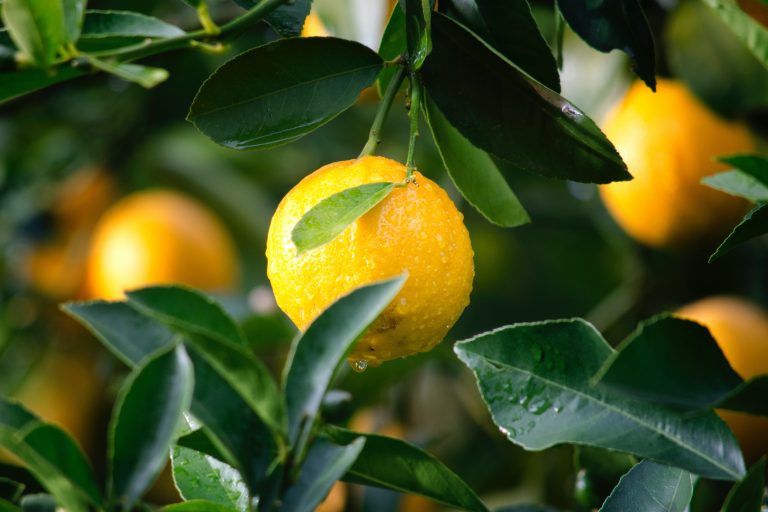
I always have lemons in my fridge. The bright acidic quality of lemon juice adds a fantastic oomph to food that you just can’t get with other kinds of acids. Lemon also pairs well with pasta, chicken, and roasted veggies. I also often have limes on hand because they’re perfect for brightening up Mexican and Thai…
Seed Starting with Recycled Materials
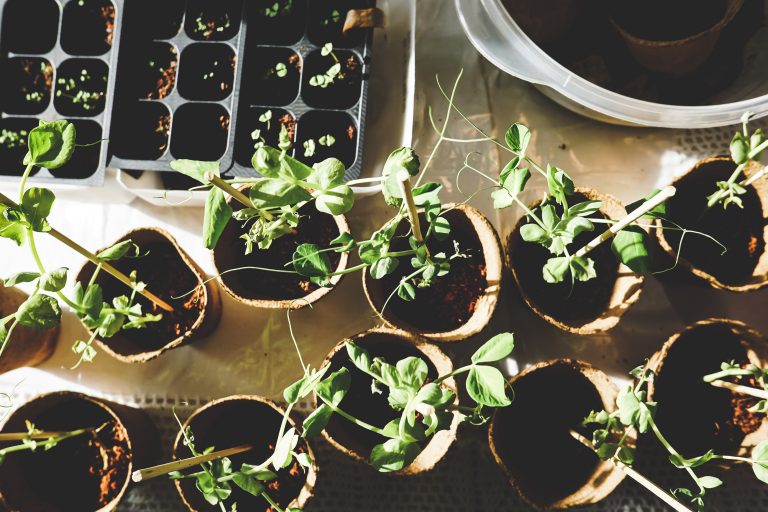
There’s no need to use fancy equipment to start seeds. You have plenty of perfectly suitable materials lying around the house—probably about to end up in the trash or recycling bin. Seed starting with recycled materials is easy! Don’t spend a ton of money on trays and flats. Save your hard-earned money and reduce, reuse,…
Hardening Off Plants Headache-Free
Hardening off plants is one of my least favorite gardening tasks. It requires a lot of care and attention, and it’s really easy to mess it up. I’ve yet to perfect the shuffle that involves bringing trays of seedling outside then back in. There’s always something that goes wrong. So let me help you avoid…