Front yards set the tone for every home, and plants play a huge role in that first impression. A few well-placed, affordable choices can instantly refresh tired landscaping without a full redesign. Color, texture, and structure all work together to make a space feel welcoming and polished. Even small garden beds or porch planters can…
garden tips
8 Things Successful Gardeners Always Do Before a Heatwave
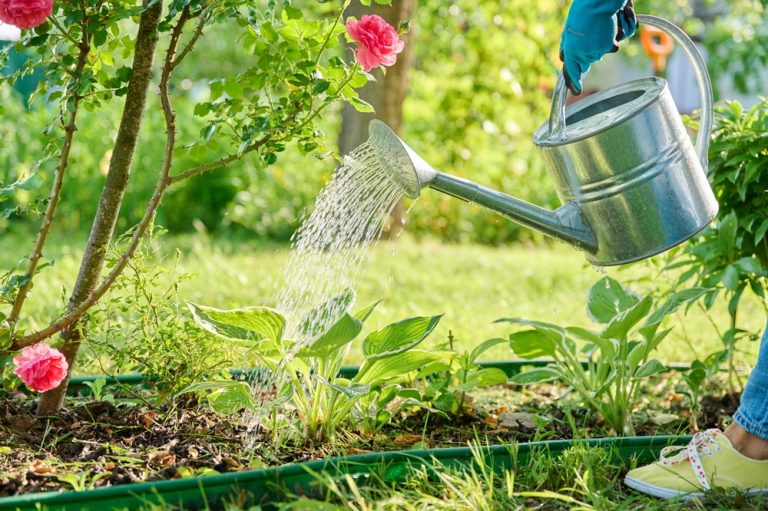
A heatwave can turn a beautiful garden into a stressful emergency in just a few days. One week, plants look lush and productive. The next, leaves droop, flowers fade, and vegetables struggle to keep up with the relentless sun. Gardeners who consistently grow healthy plants know that preparation matters far more than scrambling to fix…
The Gardening Trend That’s Replacing Expensive Landscaping
Front yards and backyards are getting a major glow-up, and it is not coming from high-priced landscaping crews. Homeowners are rethinking everything from thirsty grass lawns to complicated garden beds that demand constant upkeep. A growing trend now focuses on creating beautiful outdoor spaces that cost less, require less maintenance, and still look intentional and…
Stop Paying Grocery Store Prices: The 1 Backyard Move That Cuts Your Food Costs

Grocery bills seem to find new ways to surprise families every time they visit the store. One week it’s lettuce, the next it’s tomatoes, herbs, or peppers. As food prices continue to put pressure on household budgets, many families have started looking beyond coupons and sales flyers for relief. That search has led countless people…
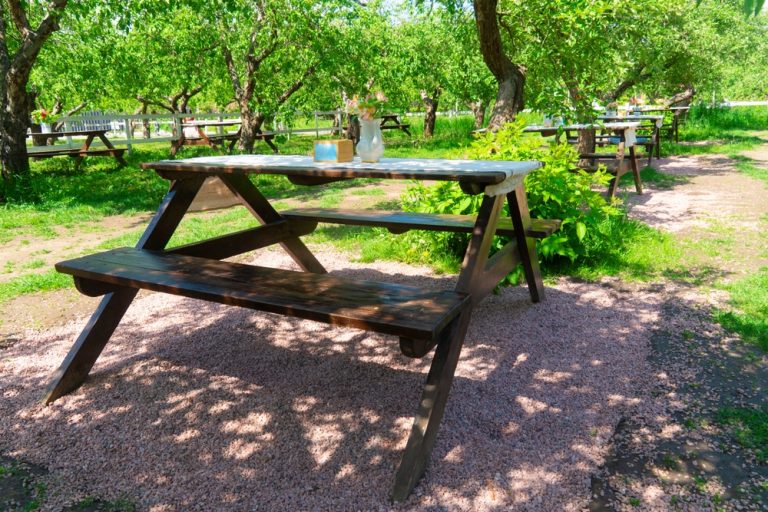
Why More Homeowners Are Planting Fruit Trees Again
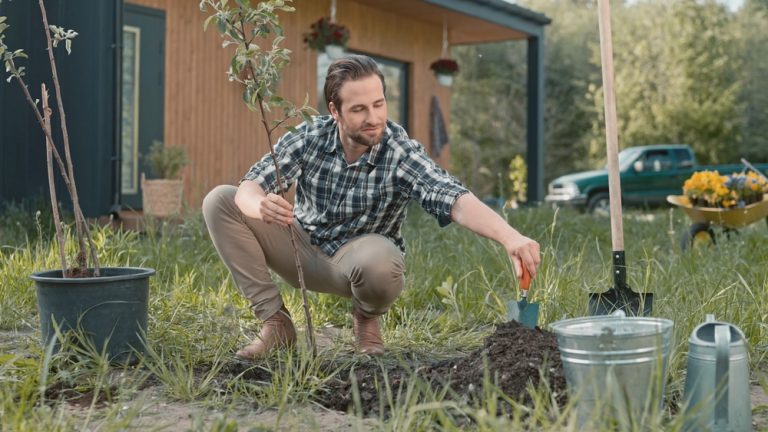
For years, perfectly trimmed lawns ruled suburban neighborhoods. A neat patch of grass became the standard symbol of a well-kept home. Today, however, many homeowners are swapping parts of those lawns for something far more rewarding: fruit trees. From apples and pears to peaches and cherries, backyard orchards are making a noticeable comeback. This renewed…
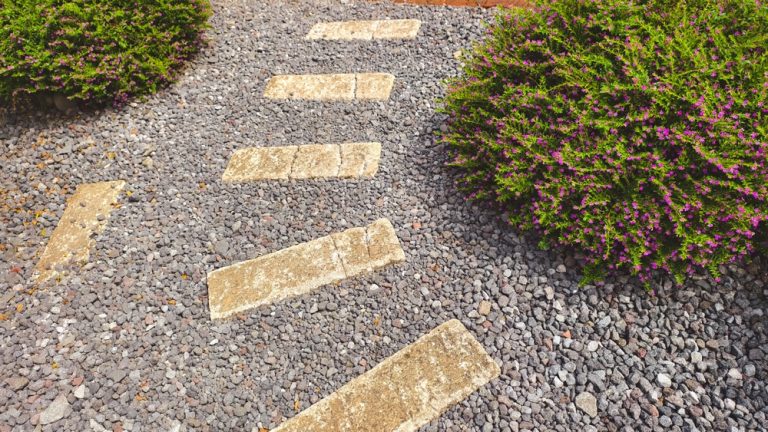
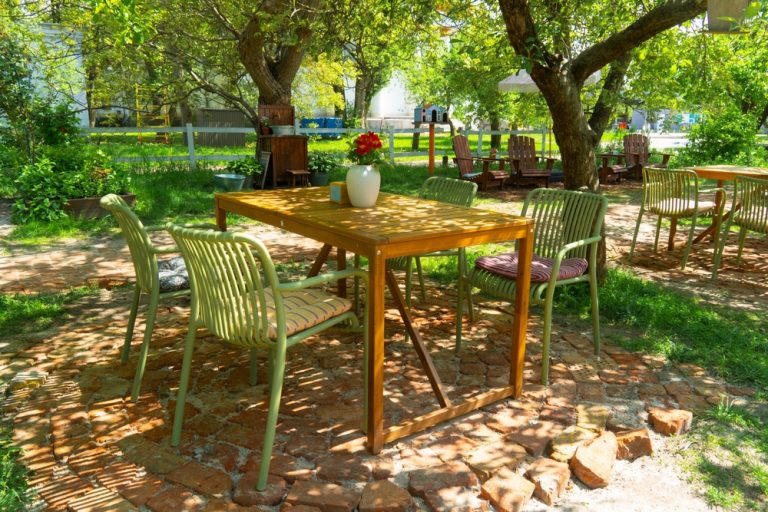
7 Cheap Ways to Make Your Backyard Look More Expensive
A beautiful backyard often looks like it came with a hefty price tag, but that is not always the case. Many of the outdoor spaces featured in magazines and social media posts rely on simple design tricks rather than expensive renovations. The secret lies in creating a clean, intentional look that feels polished and inviting….
The Backyard Mistake That Can Make Mosquito Problems Worse
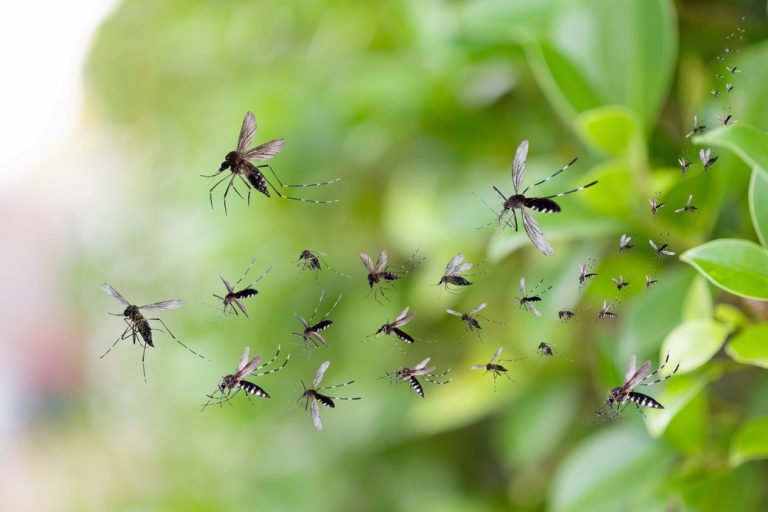
Mosquito season has a way of turning a relaxing evening outdoors into an irritating battle. One minute the grill is heating up, and the next, everyone starts swatting, scratching, and looking for a quick escape indoors. Many homeowners assume mosquitoes appear simply because the weather gets warm, but a surprising number of infestations begin much…
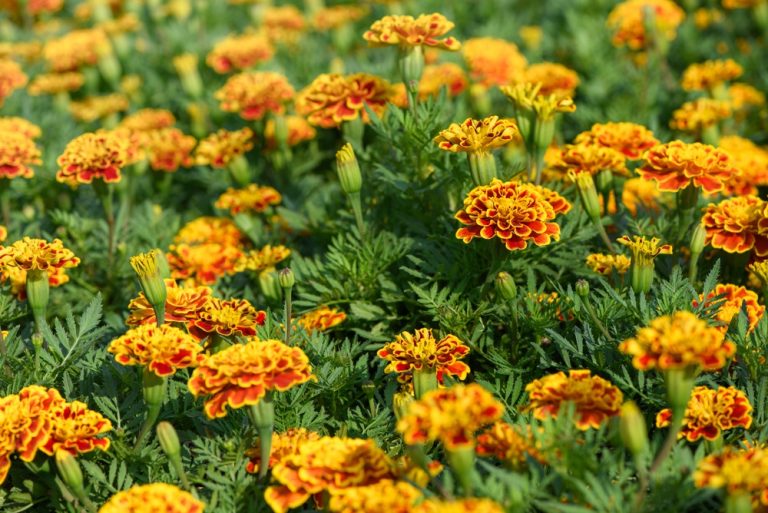
10 Flowers That Bloom Even During Extreme Heat

When summer turns into a full-on heat test, many gardens start to look tired, wilted, and ready to give up. Some flowers curl up at the first sign of intense sun, while others seem to laugh at scorching afternoons. These heat-loving blooms bring color, life, and energy right when landscapes need it most. Gardeners often…
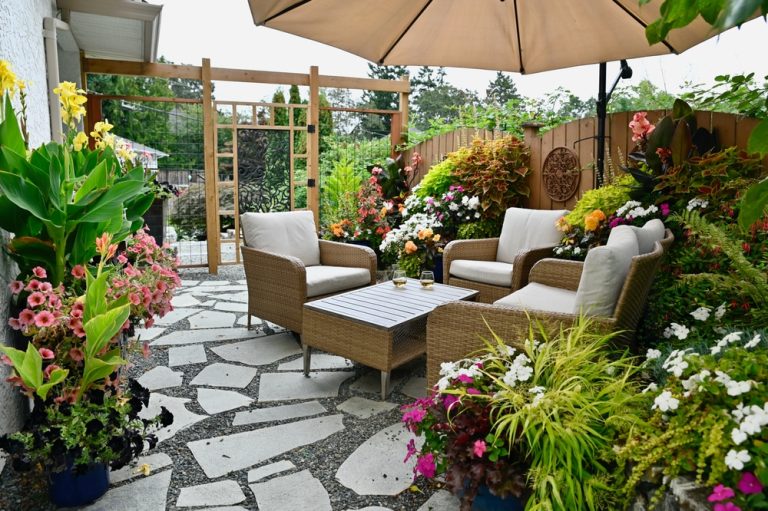
The Budget Backyard Trend That Makes Homes Feel More Relaxing
Backyards have quietly become some of the most valuable spaces around the home. While expensive outdoor kitchens and luxury landscaping grab attention on television, a much simpler trend has captured the interest of homeowners who want a peaceful outdoor escape without a hefty price tag. The secret is surprisingly straightforward: creating garden rooms with plants,…
7 Plants That Help Keep Outdoor Spaces Cooler Naturally
Summer sunshine can make a backyard feel inviting one minute and scorching the next. While umbrellas, awnings, and fans certainly help, many gardeners overlook one of nature’s best cooling systems: plants. The right trees, shrubs, vines, and ground covers can lower temperatures around patios, walkways, and outdoor gathering spaces while adding beauty and character to…