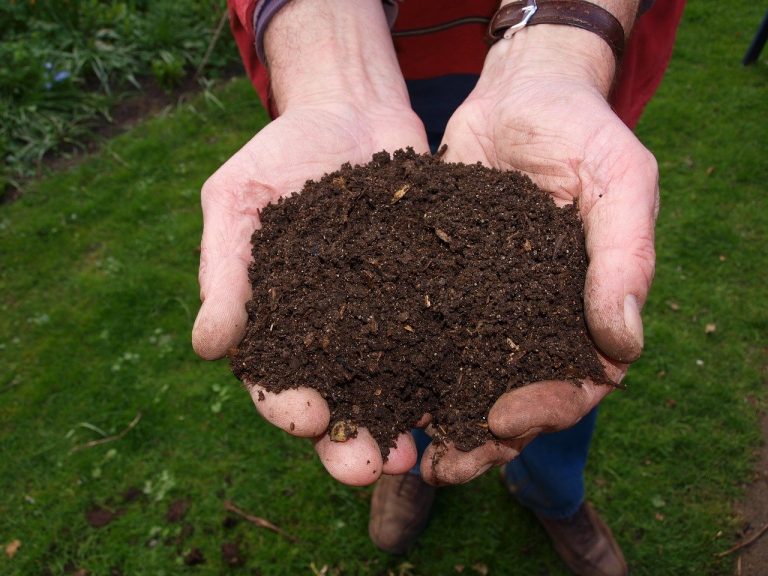
Compost is an essential medium for any gardener. It enriches the soil, provides nutrients to plants, and helps improve soil composition. It’s also easy to make compost using simple items you probably have lying around your home. Here’s how to make a 5-gallon bucket compost bin to get yourself some free compost. Tools I…
Seeding Square Review: An Essential Tool for the Square Foot Gardener
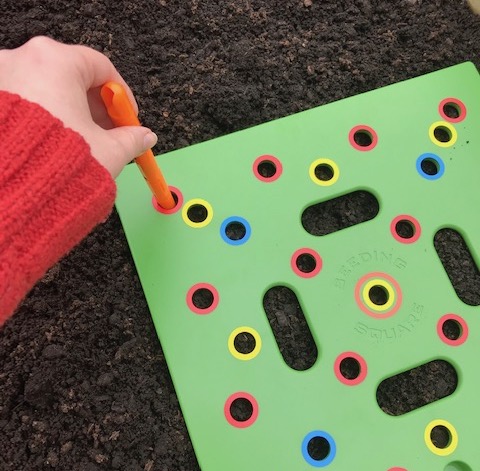
In this review, I’ll explain how the seeding square makes organized planting a cinch! The Square Foot Gardening method has been my go-to since I began gardening. I love it for many reasons. It allows me to maximize my planting space and close spacing keeps weed growth to a minimum. My favorite aspect, though, is…
5 Plants That Easily Grow in Water
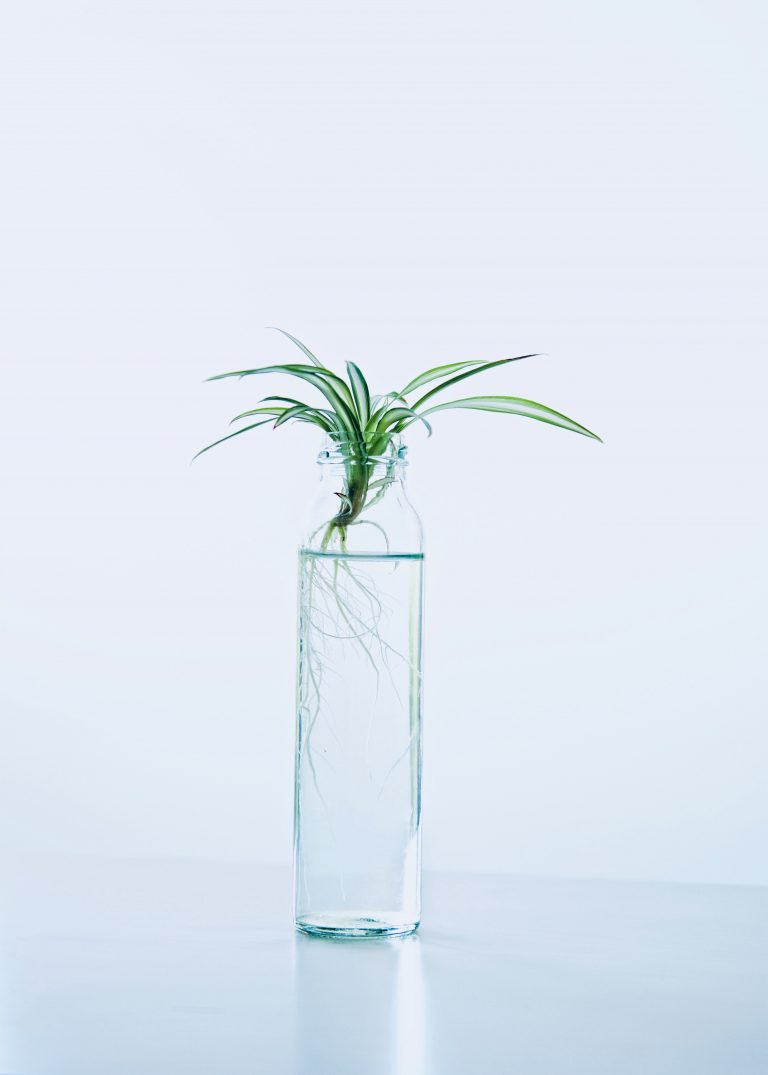
Potting up plants is a messy business. Even when I’m being careful, I manage to get soil everywhere. One of my favorite plants in my home, though, requires no soil at all. I bought the plant at the grocery store several years ago for about $3 and today, it’s almost as tall as…
10 Ways to Get Free Plants
Get free plants and save money on your favorite pastime. While gardening is one of the largest hobbies in the US, how expensive a hobby depends a lot on how you approach it. It can be quite an expensive hobby when you purchase everything retail. However, it can also be an extremely frugal hobby for…
What Are the Different Ways to Germinate Citrus Seeds?
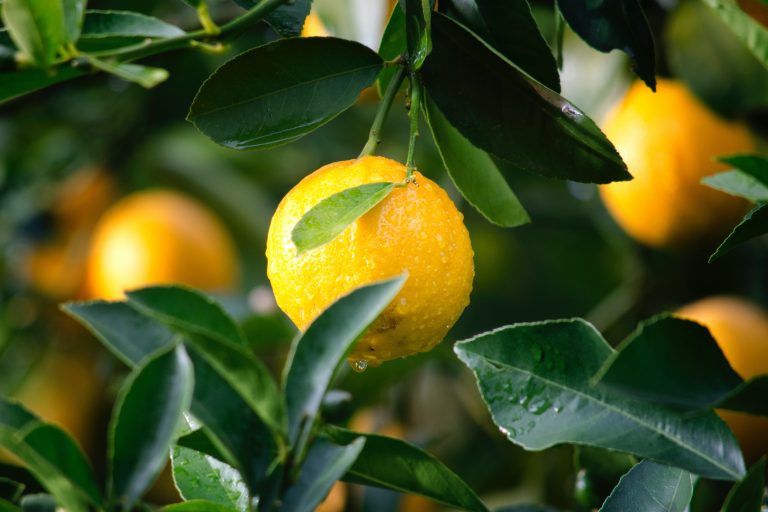
I always have lemons in my fridge. The bright acidic quality of lemon juice adds a fantastic oomph to food that you just can’t get with other kinds of acids. Lemon also pairs well with pasta, chicken, and roasted veggies. I also often have limes on hand because they’re perfect for brightening up Mexican and Thai…
5 Ways to Reignite Your Passion for Gardening
It’s the height of the harvest season! I’ve been picking ripe tomatoes and cutting fresh flowers to adorn my kitchen table almost every day. I have hot peppers coming out of my ears, and I’ve been blessed with a lush crop of kale. Funny how this time of year is also when I start…
5 Best Houseplants for Frequent Travellers
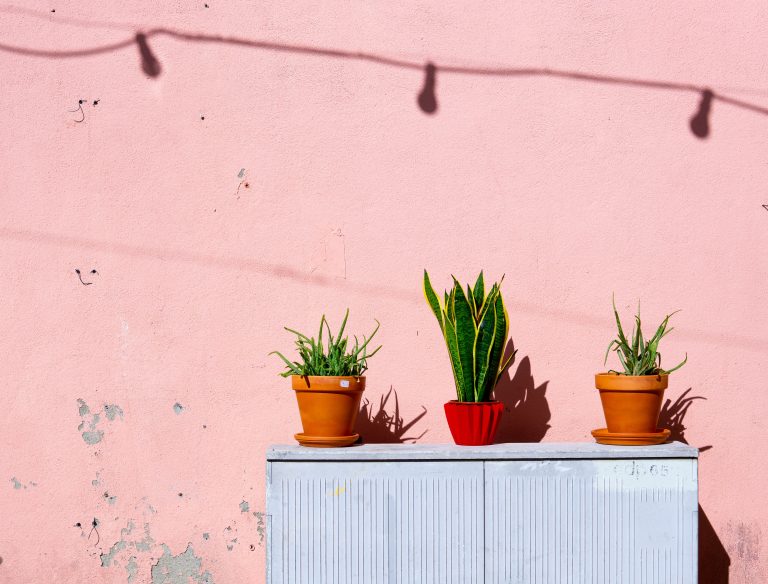
Whether you’re away on business a lot, or you frequently visit family throughout the year, it can be hard to keep fussy plants alive when you’re away from home. Thankfully, there are plenty of suitable houseplants for frequent travelers. My house is starting to resemble a jungle these days. I’ve been adding greenery during…
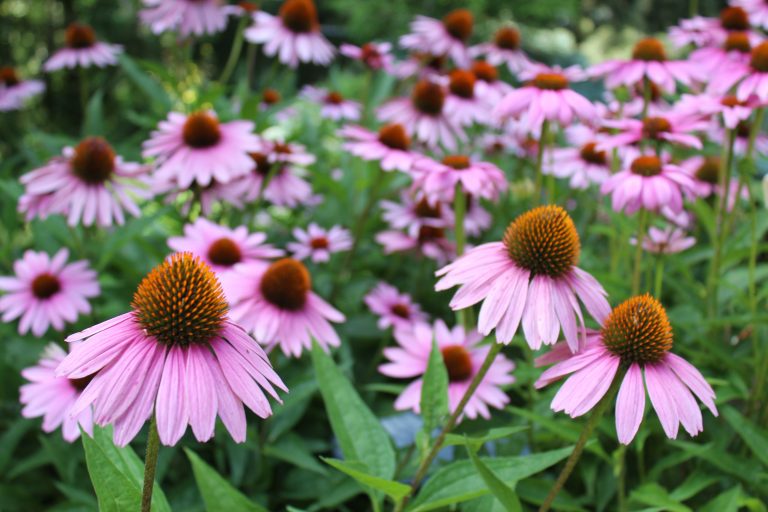
4 Reasons to Grow Flowers in Your Garden
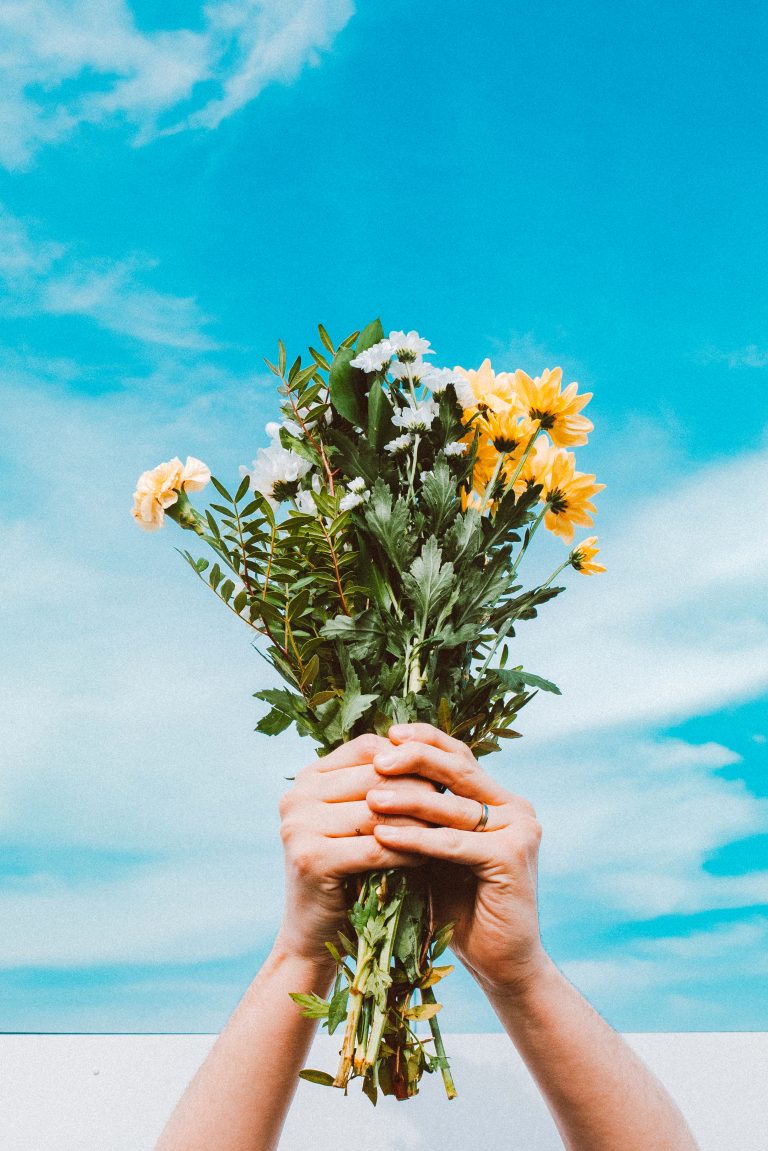
Cut flowers in the garden are the height of luxury. I used to think flowers were pointless. When I was younger, I didn’t find them particularly romantic, and when I began gardening, I thought of them as wasted space. Now I know better. There are plenty of reasons to grow flowers in your garden….
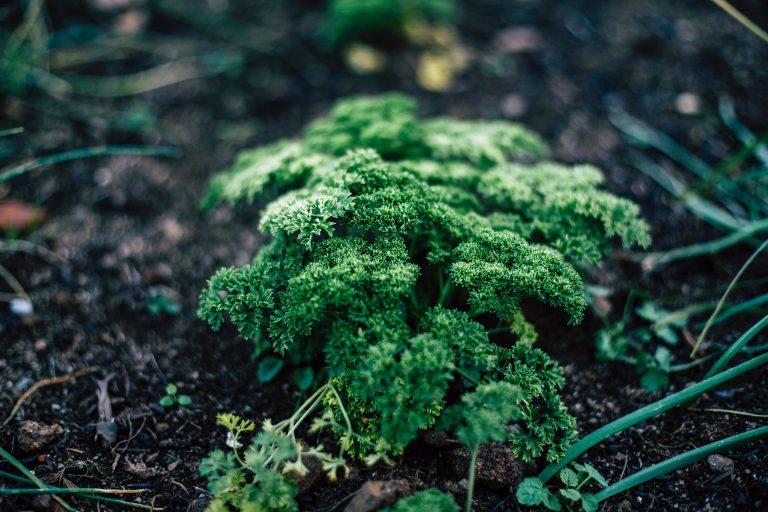
Why You Should Test Your Soil
Along with water and sunlight, soil is the lifeblood of a garden. Without healthy, nutrient-filled soil, plants simply won’t thrive. It’s tempting to believe that spraying your garden with fertilizer will encourage lush growth. But if you’re spraying without testing your soil, you may be in for trouble down the line. Why should you…
7 Tips for Getting Through a Heatwave in the Garden

It’s been hotter than ever in the garden these past few weeks, and getting tasks done is no longer an enjoyable experience. Thankfully, the heat let up yesterday, and I manage to spend an hour and a half replacing empty spots and sowing seeds for a fall harvest. The respite is temporary, though. Dealing with…