I just finished reading Sutton Foster’s book, “Hooked: How Crafting Saved My Life.” I got it because she’s crocheting on the cover of the book and that’s my go-to craft. It’s also her go-to craft, however she enjoys many other crafts as well. She even mentions gardening in the book. Specifically, she talks about the…
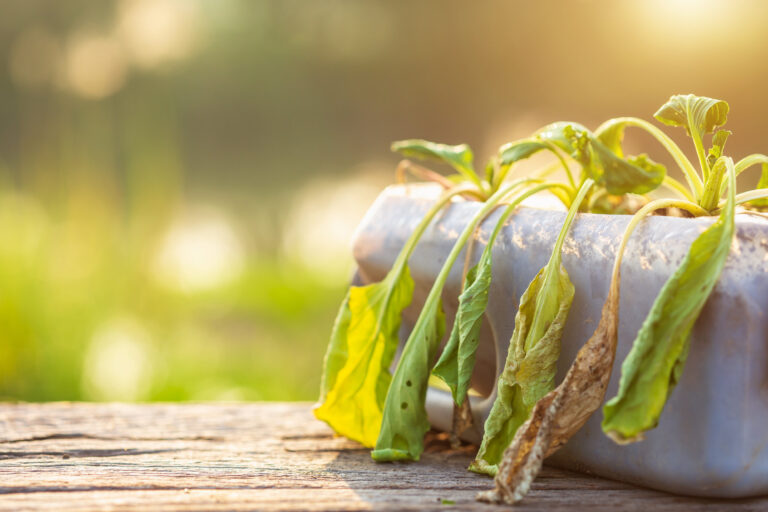
6 Tips To Revive Wilted Plants
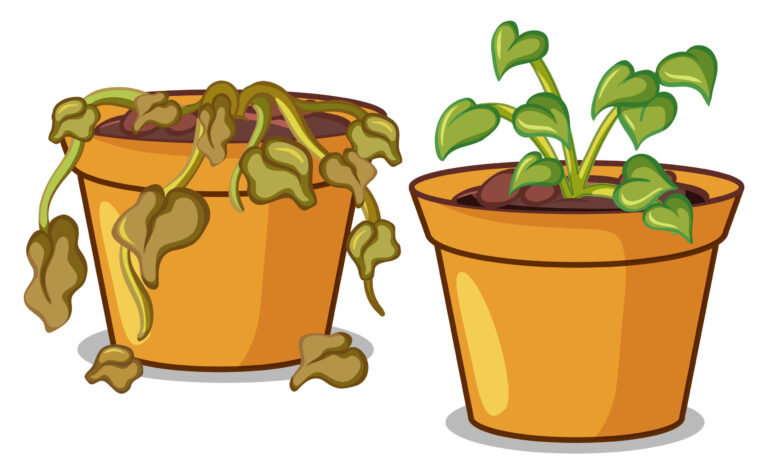
I mentioned recently that I have a little bit of a brown thumb. However, I’ve kept at gardening and learning about plants. I’ve improved over time. Along the way, I’ve picked up lots of tips to revive wilted plants. I wanted to share some of those with you today. What Causes Plants to Wilt? I…
Does My Brown Thumb Make Gardening a Waste of Money?
I have a confession to make: I have a bit of a brown thumb. In other words, I’m not that great at gardening. I have let more plants die than I’d like to admit. And yet, I keep trying to grow them and learning from my mistakes. Does this mean that gardening is a waste…
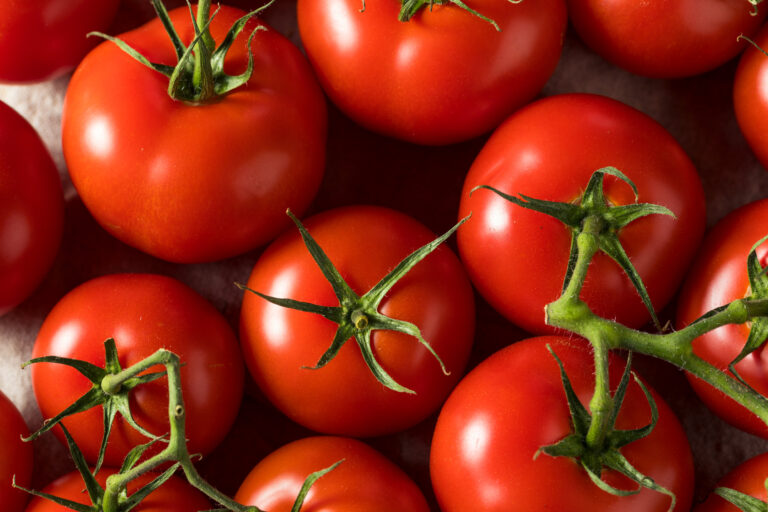
5 Reasons To Use Fish Amino Acid on Your Plants
There are so many great reasons to use fish amino acid in your garden. Also known as fish fertilizer, this product provides nutrition to plants in ways that are similar to, but arguably potentially better than, other organic garden fertilizers. There are different types of fish fertilizer and different reasons to use fish amino acid…
5 Fun Ways to Use Yarn in the Garden
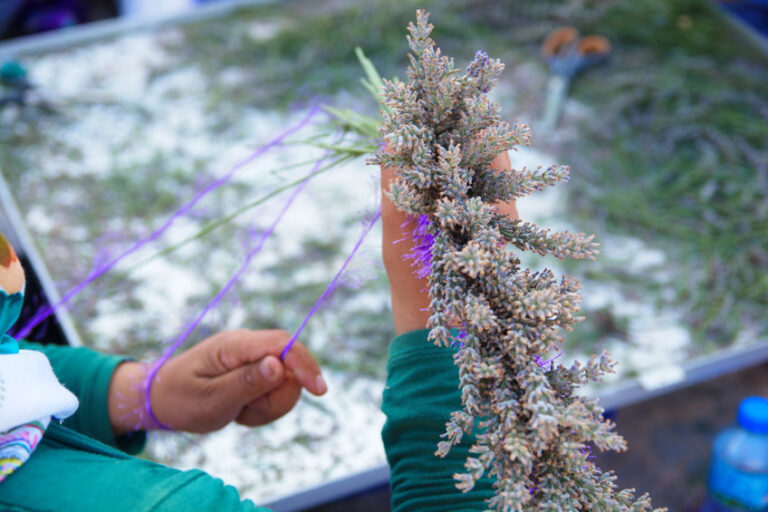
I am a crafter. Mostly, I crochet, although I also knit and weave and collage and enjoy some other crafty activities. As a result of my craft, I have a lot of yarn in my home. Most of it I will use to crochet, of course. However, over the years, I’ve found that yarn can…
8 Uses of Baking Soda in Gardening
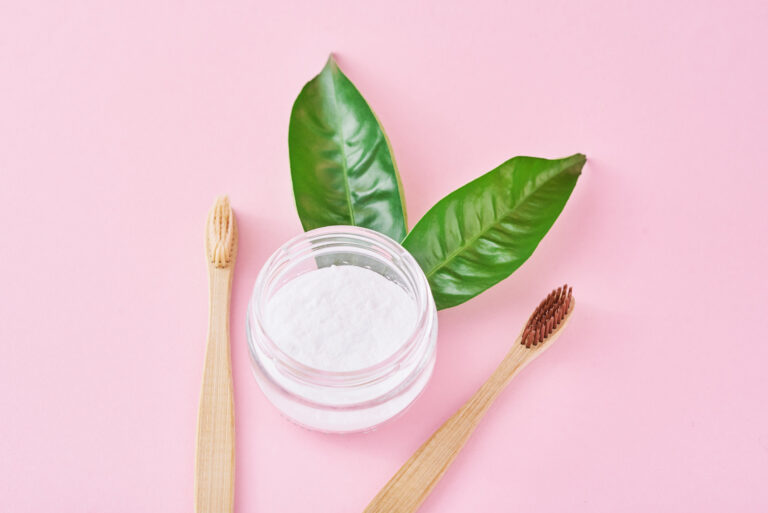
Baking soda is one of the most amazing, affordable products available to us. Hopefully, you’re already using baking soda for cleaning throughout your home. If not, then you’re spending more money than you should on household cleaners. And today let’s talk about how baking soda’s benefits don’t stop there. There are so many uses of…
7 Financial Benefits of Backyard Gardening
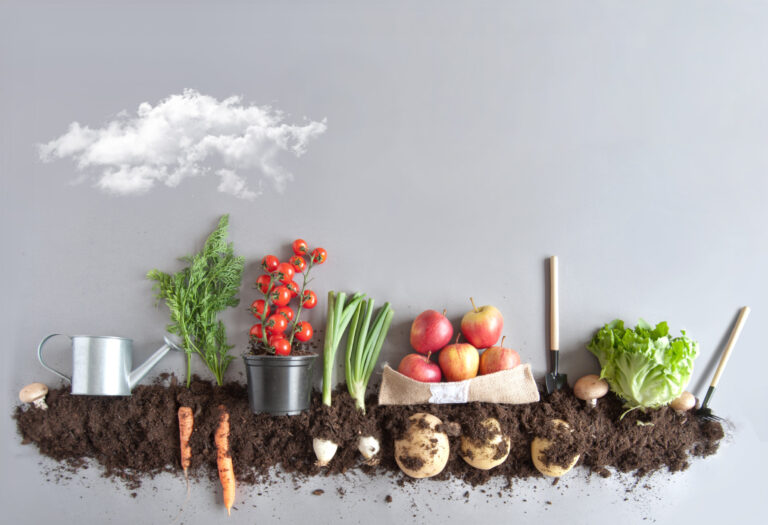
You probably started gardening as a hobby. However, you might have always wondered if you could use gardening to save money. You certainly can. In fact, you can actually garden to make money if you’re savvy about it. The financial benefits of backyard gardening go beyond just saving at the grocery store, too! Here are…
What Is the Best Growing Medium for Basil?
Basil is a wonderful herb. It goes well in a variety of different foods. Moreover, you can use it to spice up beverages. However, it’s costly to buy basil leaves at the store. Therefore, you can save a lot of money by planting basil in your own container garden instead. You can use soil, of…