
Living in a small apartment doesn’t mean you have to compromise on style or functionality. With the right decorating strategies, you can maximize your tiny space, making it both stylish and practical. These 16 genius decorating tips help you transform your small living areas into comfortable, beautiful, and efficient homes. From multifunctional furniture to clever…
Cultivating Knowledge: The Top 7 Gardening Podcasts to Enrich Your Green Thumb

Gardening is not just a pastime; it’s a passion for millions who enjoy getting their hands dirty and cultivating their own patches of earth. Whether you’re a novice hoping to grow your first flowers or a seasoned horticulturist looking to expand your knowledge, gardening podcasts can be a treasure trove of information. Here’s a guide…
8 Old-School Habits to Try for a Happier Life

In our fast-paced, technology-driven world, sometimes the key to a happier life lies in the wisdom of the past. Many of us yearn for simpler times, and integrating old-school habits into our modern routines can provide a sense of grounding and joy that contemporary lifestyles often lack. Here, we explore eight timeless habits that can…
14 Nutrient-Dense Vegetables to Grow in Your Garden
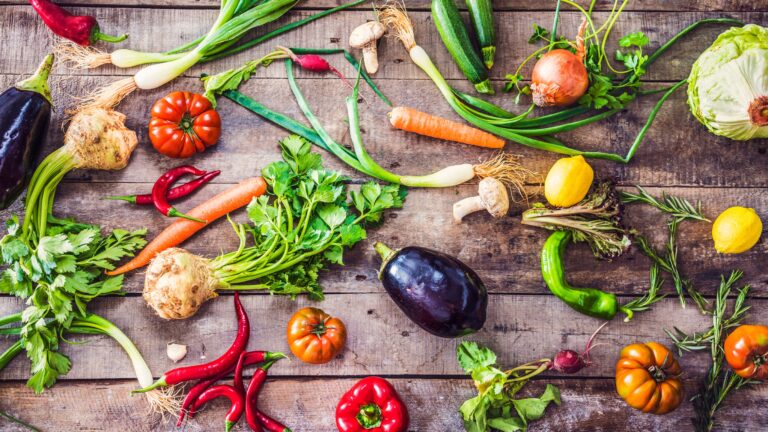
Growing your own vegetables can be a rewarding endeavor, both for your health and the environment. With an increasing interest in self-sustainability and organic gardening, choosing the right types of plants for your garden is essential. Nutrient-dense vegetables, which are packed with vitamins, minerals, and antioxidants, offer significant health benefits. Here, we explore 14 nutrient-dense…
14 Dangers of Drinking from Plastic Bottles and The Alternatives

In today’s eco-conscious world, the use of plastic bottles has become a hot topic due to their impact on health and the environment. With an increasing number of studies pointing out the dangers associated with these ubiquitous containers, it is crucial for consumers to understand the risks and consider safer alternatives. Here, we delve into…
12 Foods You Should Stop Buying Now to Save Money at Any Grocery Store

In today’s economy, saving money at the grocery store is more crucial than ever. With prices fluctuating and budgets tightening, smart shopping has become an essential skill. One effective way to cut costs is by avoiding certain high-priced items that can sneakily increase your grocery bill. Here are 12 foods you might skip on your…
Do Boomers Hate Aging? 10 Reasons Why They Do

Aging is a natural part of life, but how it is perceived and experienced can vary widely among different generations. For Baby Boomers, those born between 1946 and 1964, the approach to aging can be particularly complex. This generation has witnessed revolutionary changes in technology, healthcare, and social norms. However, as they transition into their…
5 Compelling Reasons to Purchase Seeds Over Harvesting from Fruits
In the world of gardening, the choice between purchasing seeds and harvesting seeds from fruit can significantly impact the success of your planting season. While harvesting seeds from fruit may seem economical and sustainable, there are several compelling reasons to purchase seeds instead. This approach offers advantages ranging from genetic quality to ease of use,…
Estate Planning: Essential Advice for Boomers and Gen X

In an era where change is the only constant, estate planning becomes a crucial endeavor for Baby Boomers and Generation X. This demographic, often caught between the responsibilities of aging parents and growing children, faces unique challenges that make estate planning not just a priority but a necessity. As they navigate through significant life transitions,…
9 Buffet Foods You Should Skip (and Why)
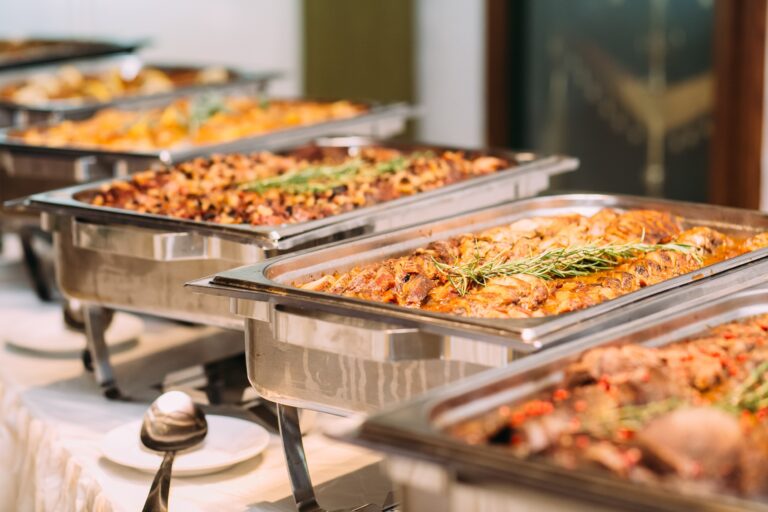
Buffets are a popular dining choice for those looking for variety and value. From lavish spreads in hotels to the local all-you-can-eat joints, the allure of endless options can be irresistible. However, not all buffet foods are created equal. Avoiding some dishes for health, taste, and overall value is best. Here’s a guide to the…